
This post may contain affiliate links.
This Apple Brie Stuffed Chicken recipe has all of the fall flavors you love! Chicken breasts get seared until golden, then stuffed with melty Brie and crisp apple slices before finishing under a maple Dijon glaze. Searing the chicken first, then stuffing it, is what keeps the filling sealed inside instead of leaking into the pan. Ready in 45 minutes with just one skillet.
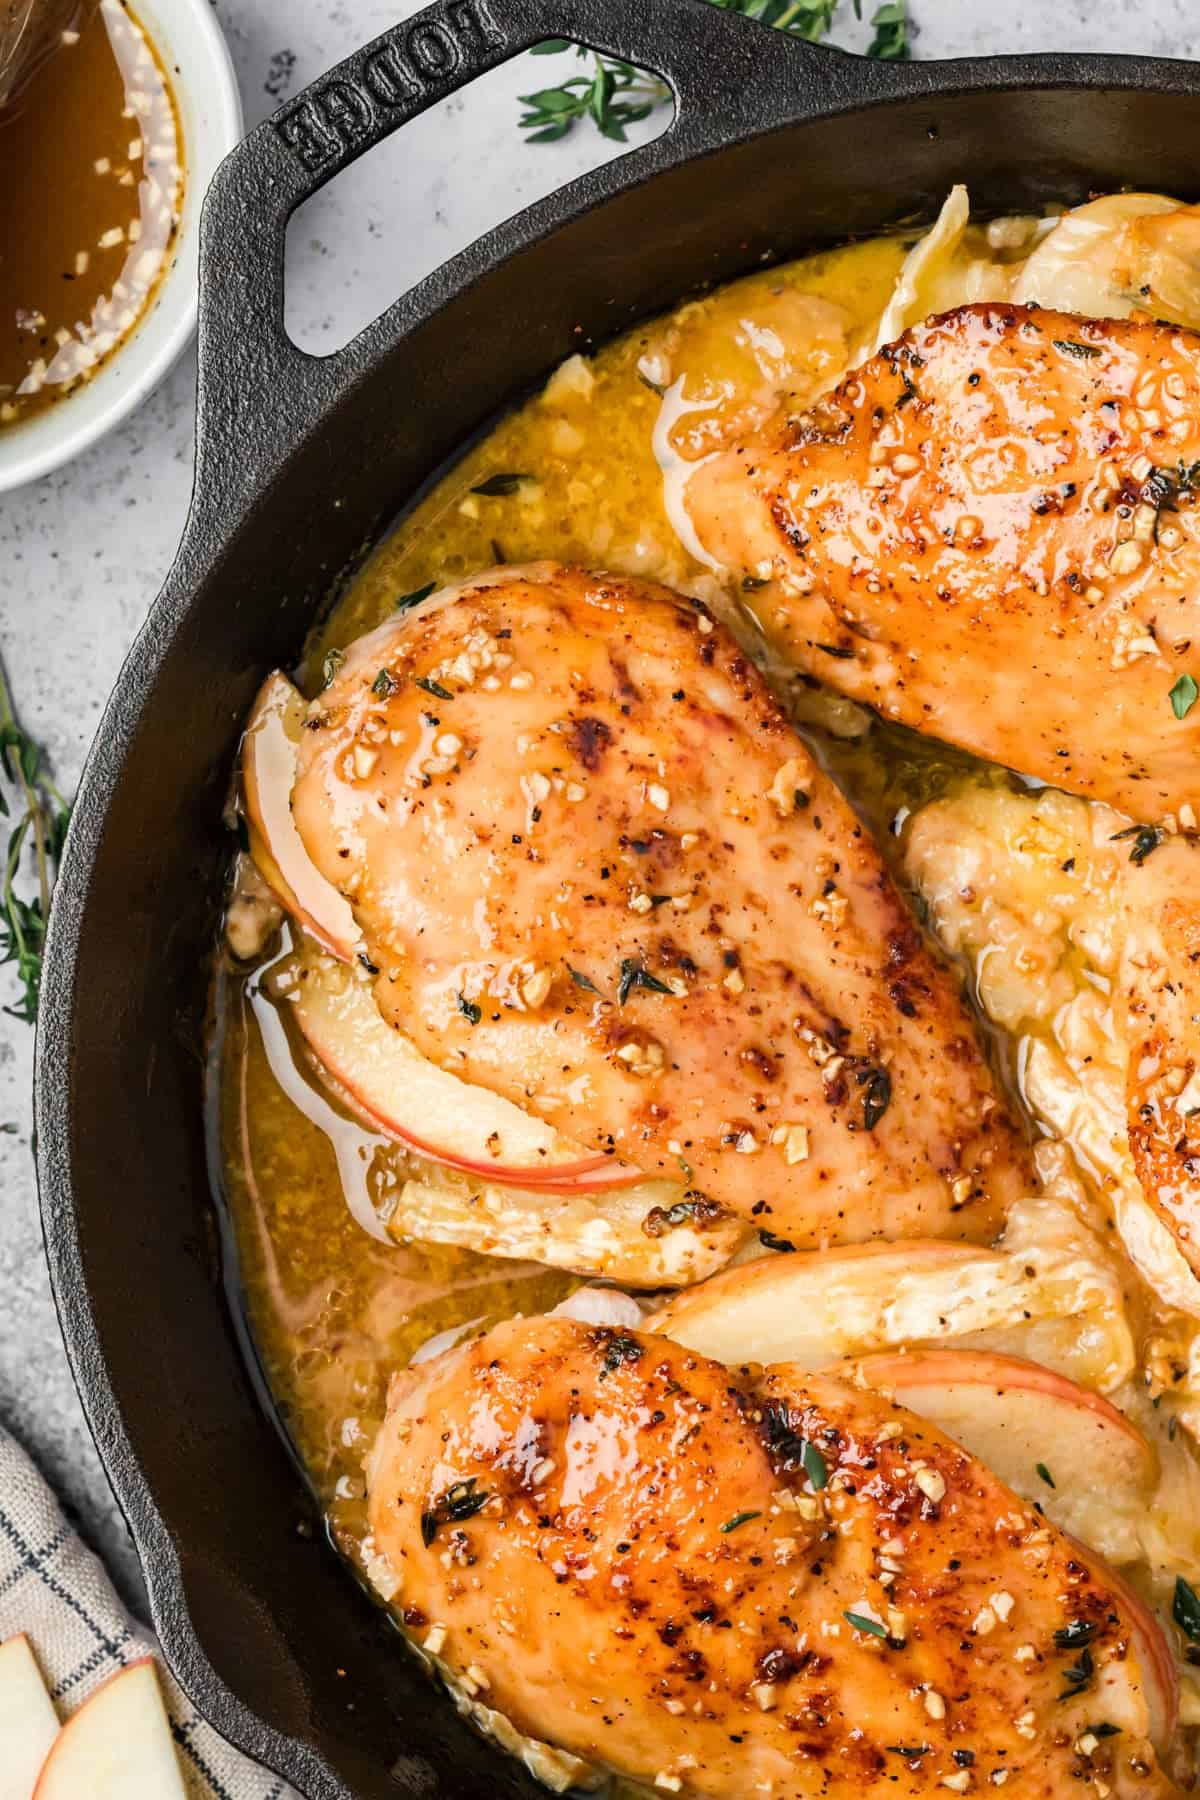
There’s something about the combination of warm, melty Brie and crisp apple that feels like fall on a plate. Add a maple Dijon glaze and a golden sear on the outside, and you’ve got a chicken dinner that looks like it came from a restaurant menu, not a Tuesday night at home.
This one’s become a regular in our house because it hits that sweet spot of feeling special without actually being complicated. One skillet, about 45 minutes, and a technique that keeps the filling exactly where it belongs. You might remember my Skillet Apple Cider Chicken that I shared last year. This recipe inspired me to create more fall chicken recipes like this Apple and Brie Stuffed Chicken. If you like stuffed chicken you also might like this Sun-dried Tomato Goat Cheese Stuffed Chicken Breasts.
Why This Recipe Works

Most stuffed chicken recipes have you stuff the chicken raw, then sear it, which is exactly how the filling ends up all over your pan instead of inside the chicken. This recipe sears the chicken first and stuffs it after, once it’s had a few minutes to cool. That one change in order is what keeps the Brie where it belongs.
The glaze does double duty too. Half goes on before baking so it caramelizes into the chicken as it cooks, and half is held back to drizzle on at the table, so you get a fresh, glossy finish instead of a glaze that’s baked dry.

Table of Contents
Recipe Ingredients
For exact ingredient amounts and instructions, see the full recipe card below.
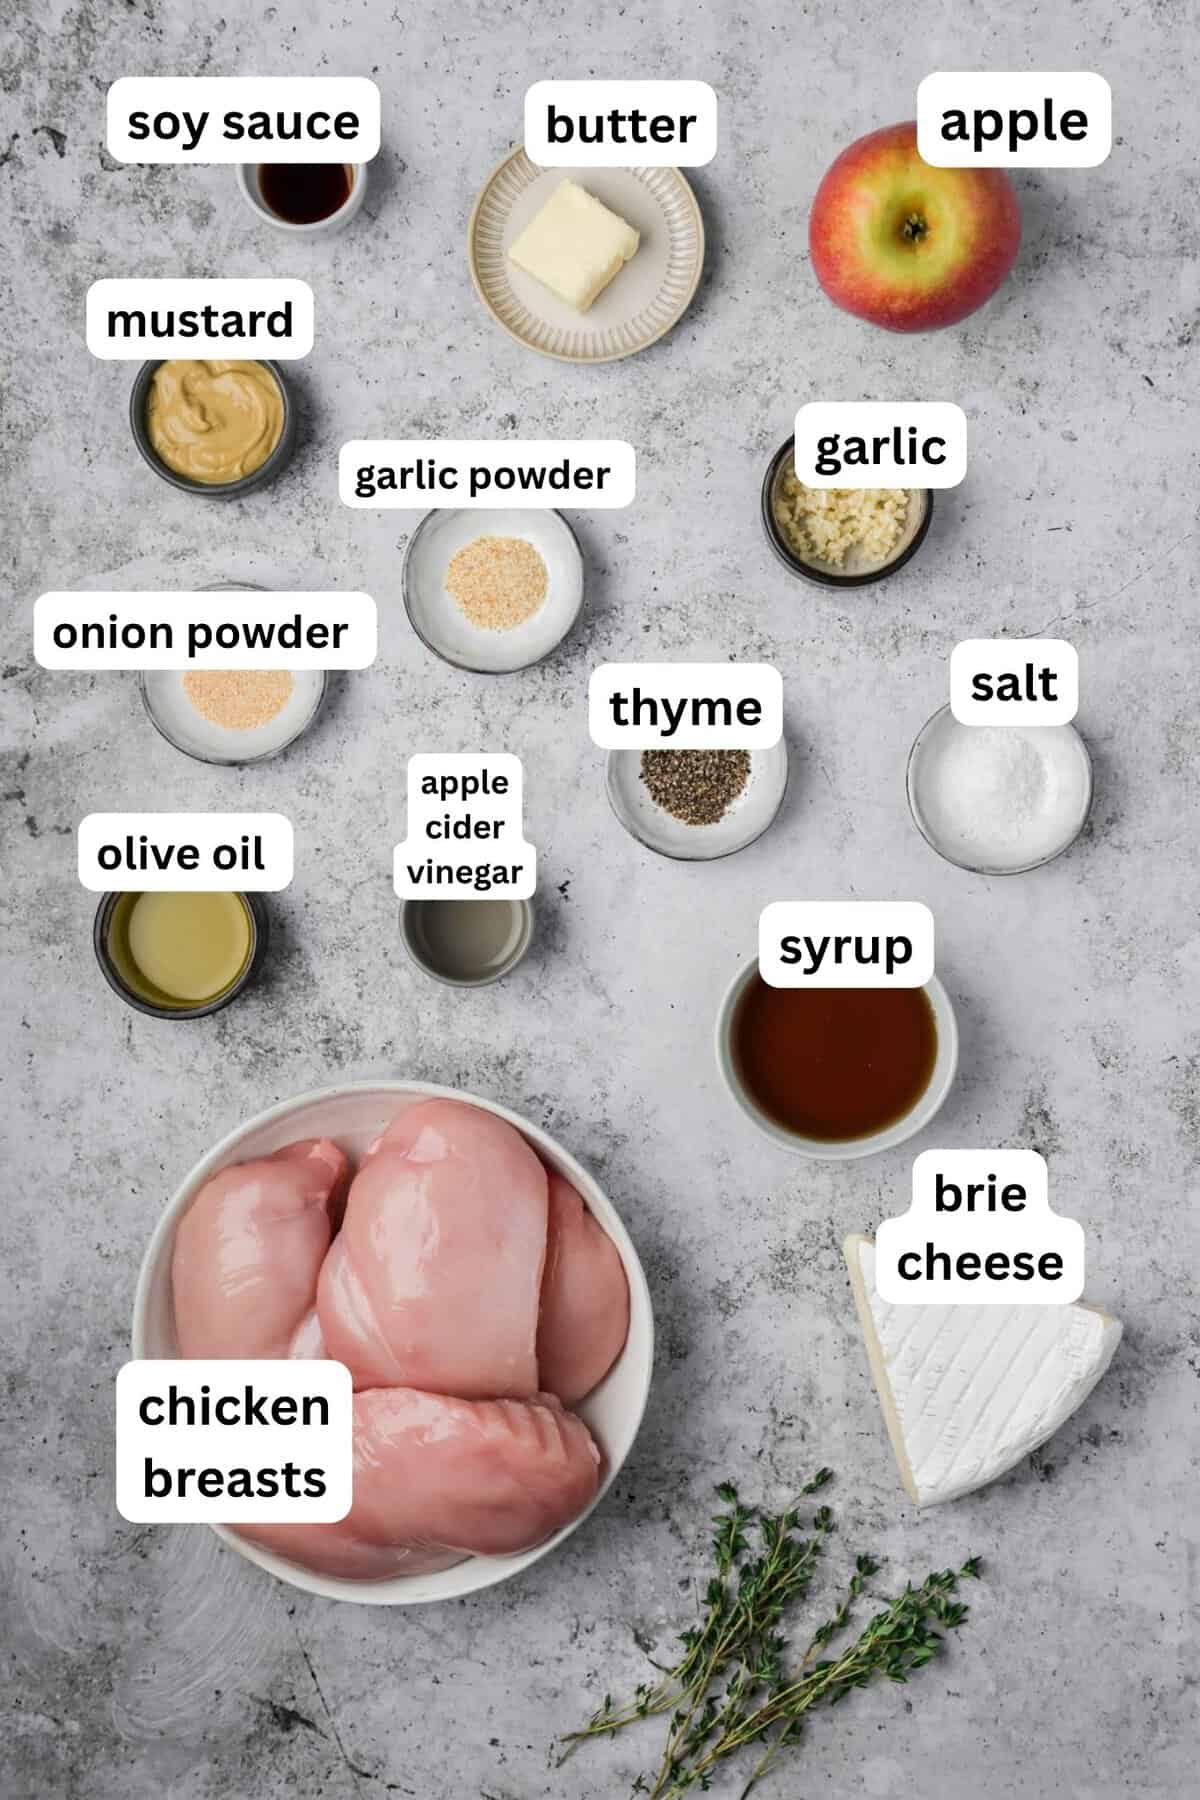
- Chicken breasts: Look for large ones, closer to 8 to 9 ounces each. Bigger breasts are actually easier to stuff since there’s more room to work with, and they hold the filling better than thin, small ones.
- Brie: This is what gives you that melty, slightly gooey center. Keep it cold until you’re ready to slice it. Cold Brie holds its shape and slices clean, while room temperature Brie gets sticky and hard to work with. If Brie isn’t your thing, gruyèreor fontina will melt similarly.
- Apple: Adds a crisp, sweet-tart bite that balances the richness of the cheese. You want a firm variety here, not a soft one that turns mushy in the oven.
- Garlic powder, onion powder, and fresh thyme: These season the chicken itself, not just the surface, since some of the seasoning goes right into the pocket along with the filling.
- Maple syrup, Dijon mustard, apple cider vinegar, and soy sauce: This combination is what makes the glaze taste like more than just maple syrup poured on top. The Dijon adds tang, the vinegar cuts the sweetness, and the soy sauce brings a savory depth that keeps the glaze from tasting one-note.
Modifications and Substitutions
- Swap the cheese: Gruyère, fontina, gouda, or a good aged cheddar all melt beautifully in place of Brie if you want a different flavor or can’t find Brie.
- Make it dairy-free: A firm dairy-free cheese alternative will melt reasonably well in the pocket, though the texture will be a little less creamy than Brie.
- Add greens: A few leaves of baby spinach or arugula tucked in alongside the apple and Brie adds color and a little earthiness without changing the technique.
- Use chicken thighs: Boneless, skinless thighs work in place of breasts, just check for doneness a few minutes earlier since they’re typically thinner.
- Skip the sear: If you’re short on time, you can skip searing and bake the stuffed chicken straight through at 375°F for closer to 30 to 35 minutes, though you’ll lose some of that golden color on the outside.
This Apple Brie Chicken pairs really nicely with salads like this Kale Brussels Sprout Salad, Shaved Brussels Sprout Salad or this Fall Orzo Pasta Salad.
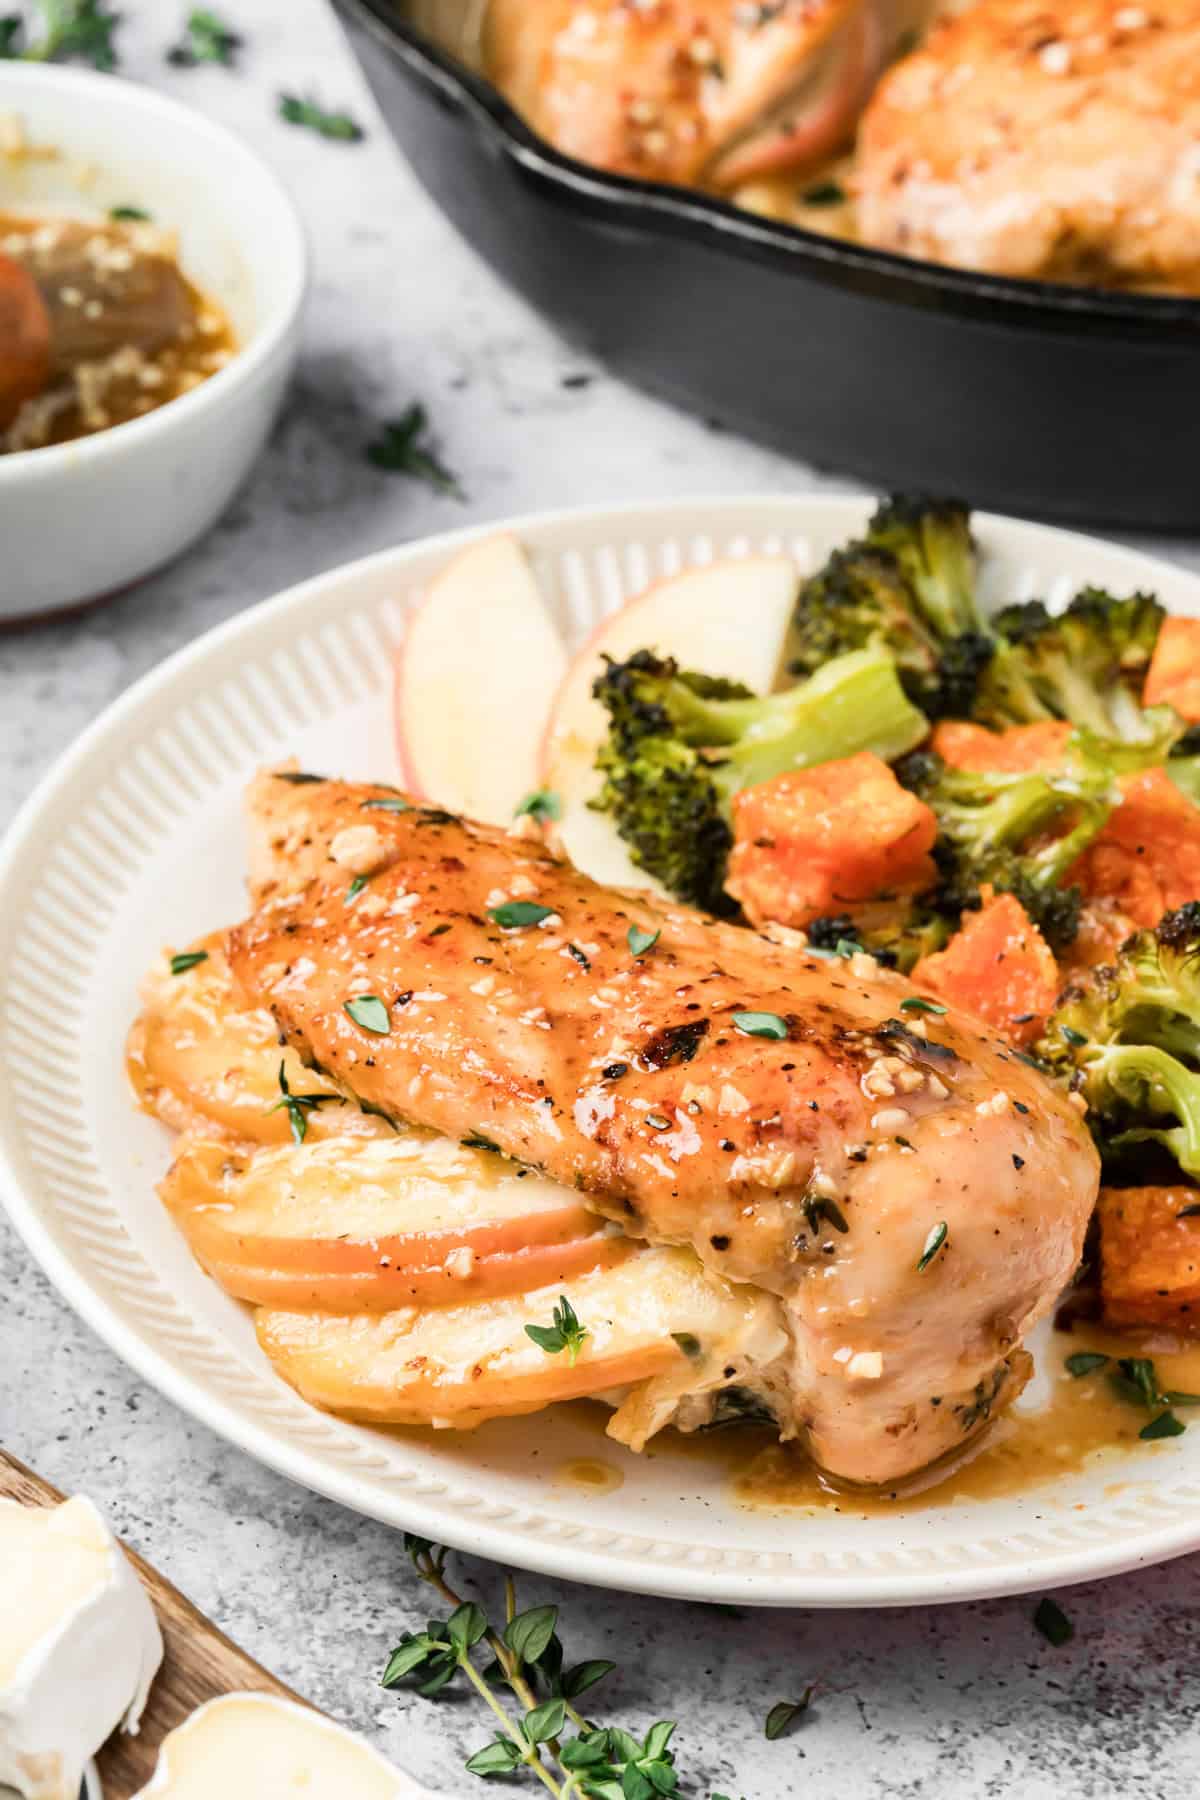
How to Make Apple and Brie Stuffed Chicken
Step 1: Cut the pocket. Slice a deep pocket into the thickest side of each chicken breast, being careful not to cut all the way through.
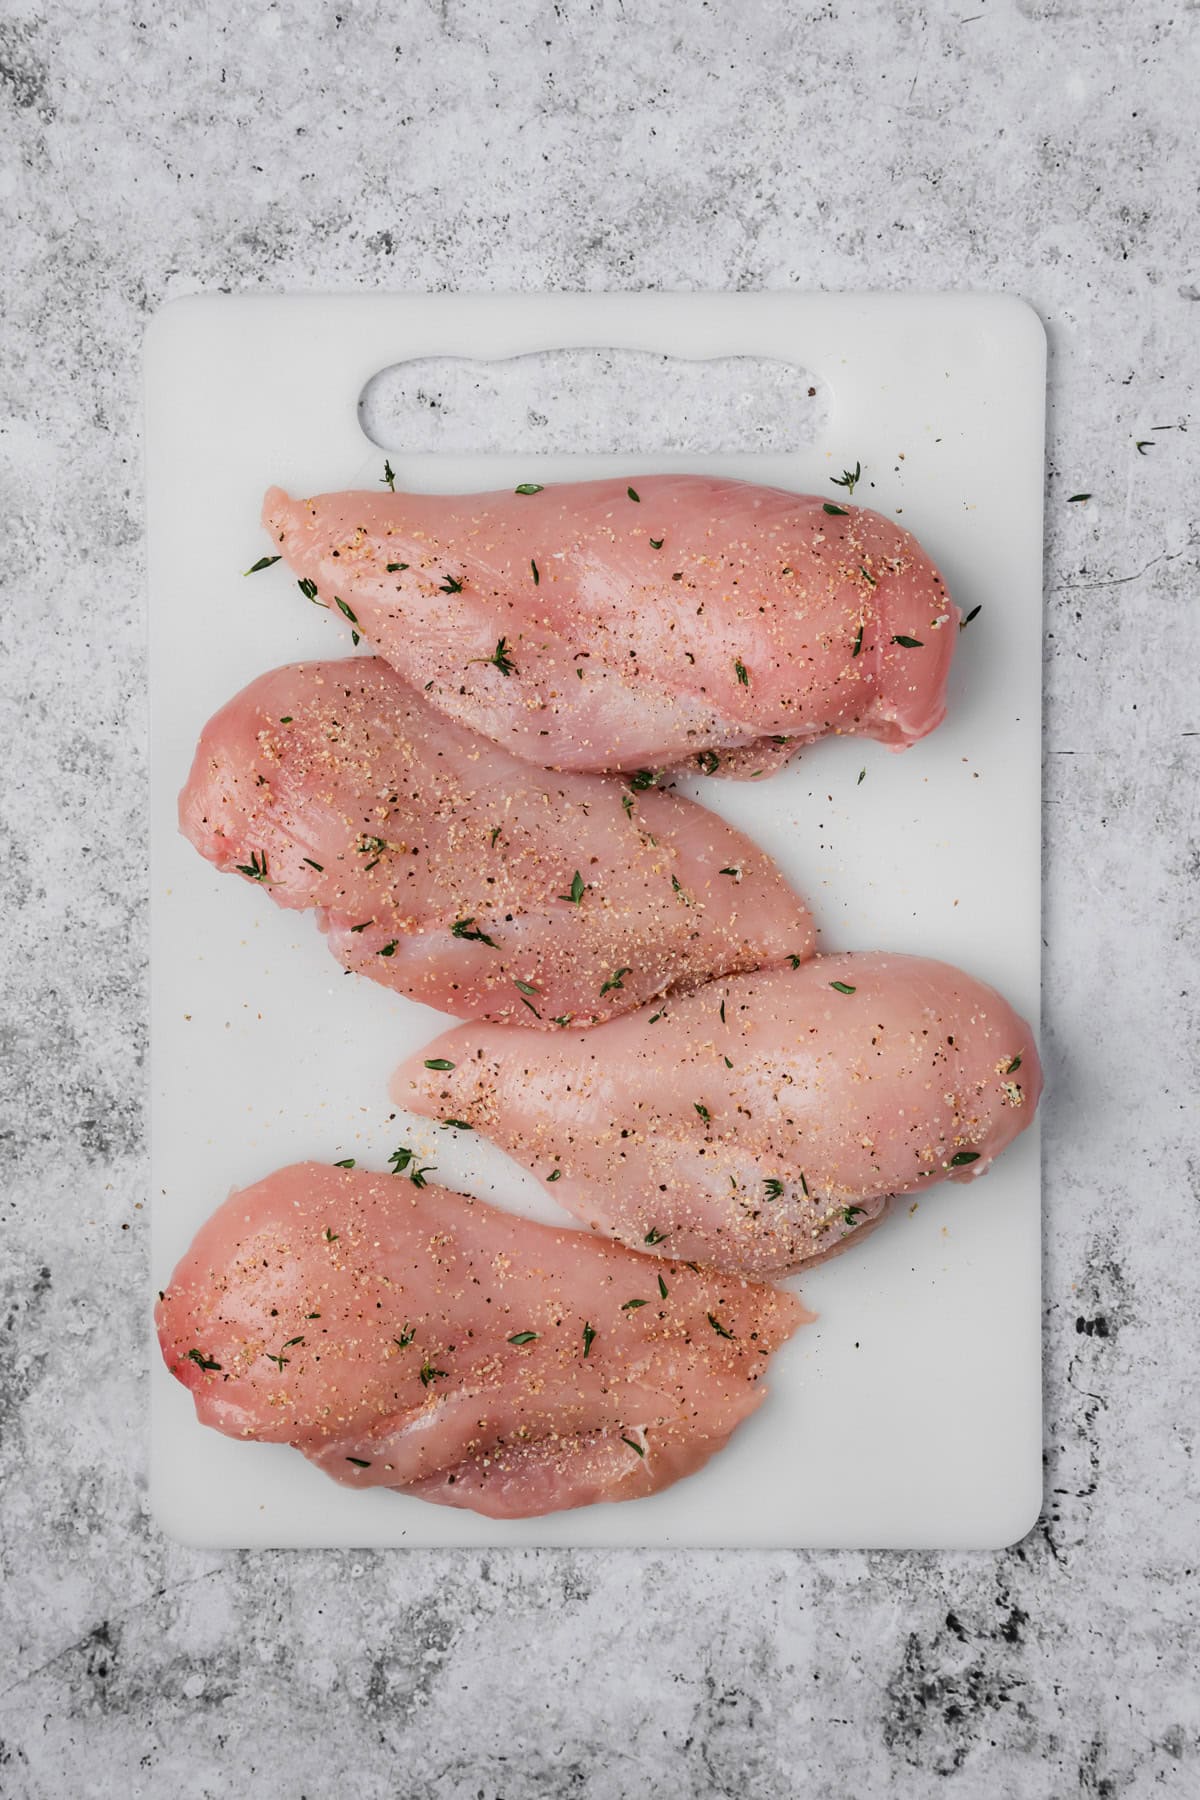
Step 2: Season. Season the chicken all over, including inside the pocket, with salt, pepper, garlic powder, onion powder, and thyme.
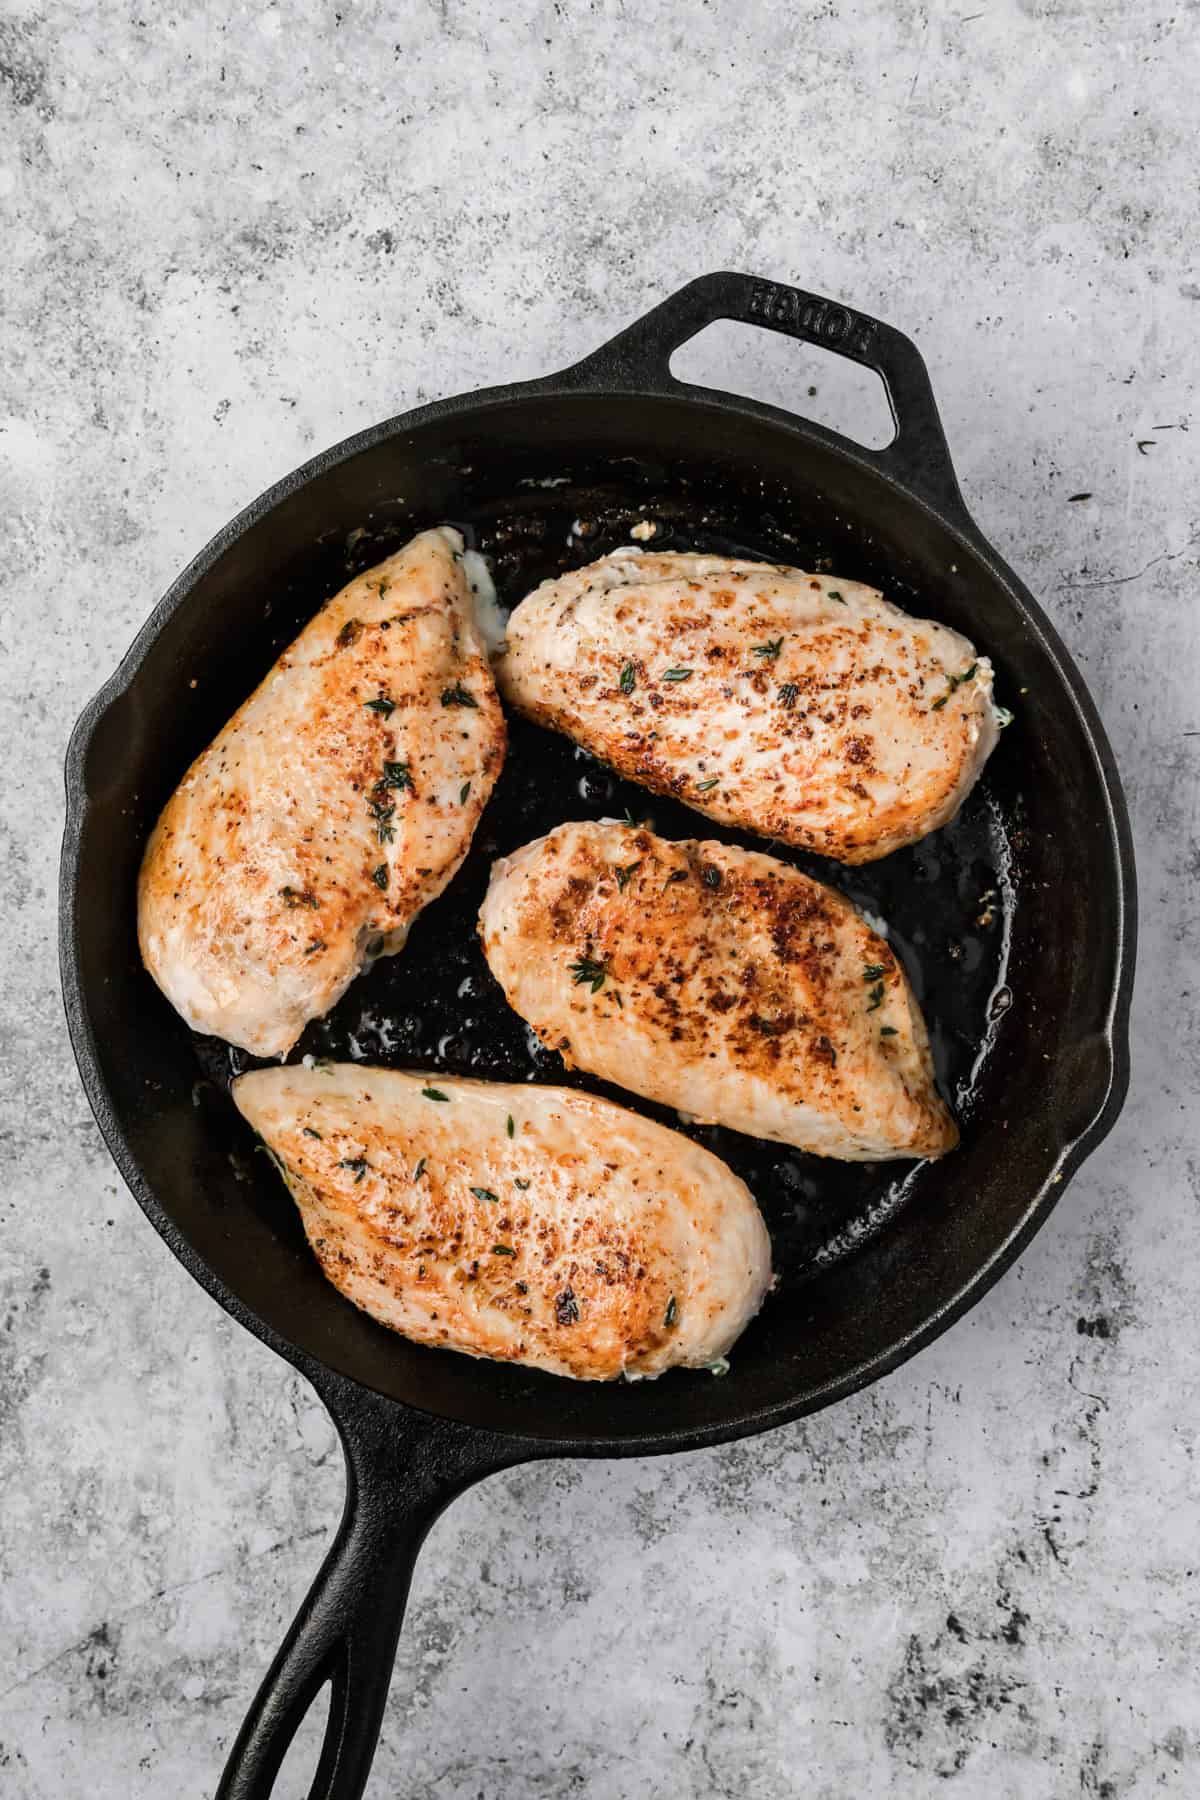
Step 3: Sear. Sear the chicken in a hot, oven-safe skillet for 2 to 3 minutes per side, until golden but not cooked through. Let it cool for about 5 minutes before handling. Tip: the chicken should still feel firm but not fully cooked at this stage, it finishes in the oven.
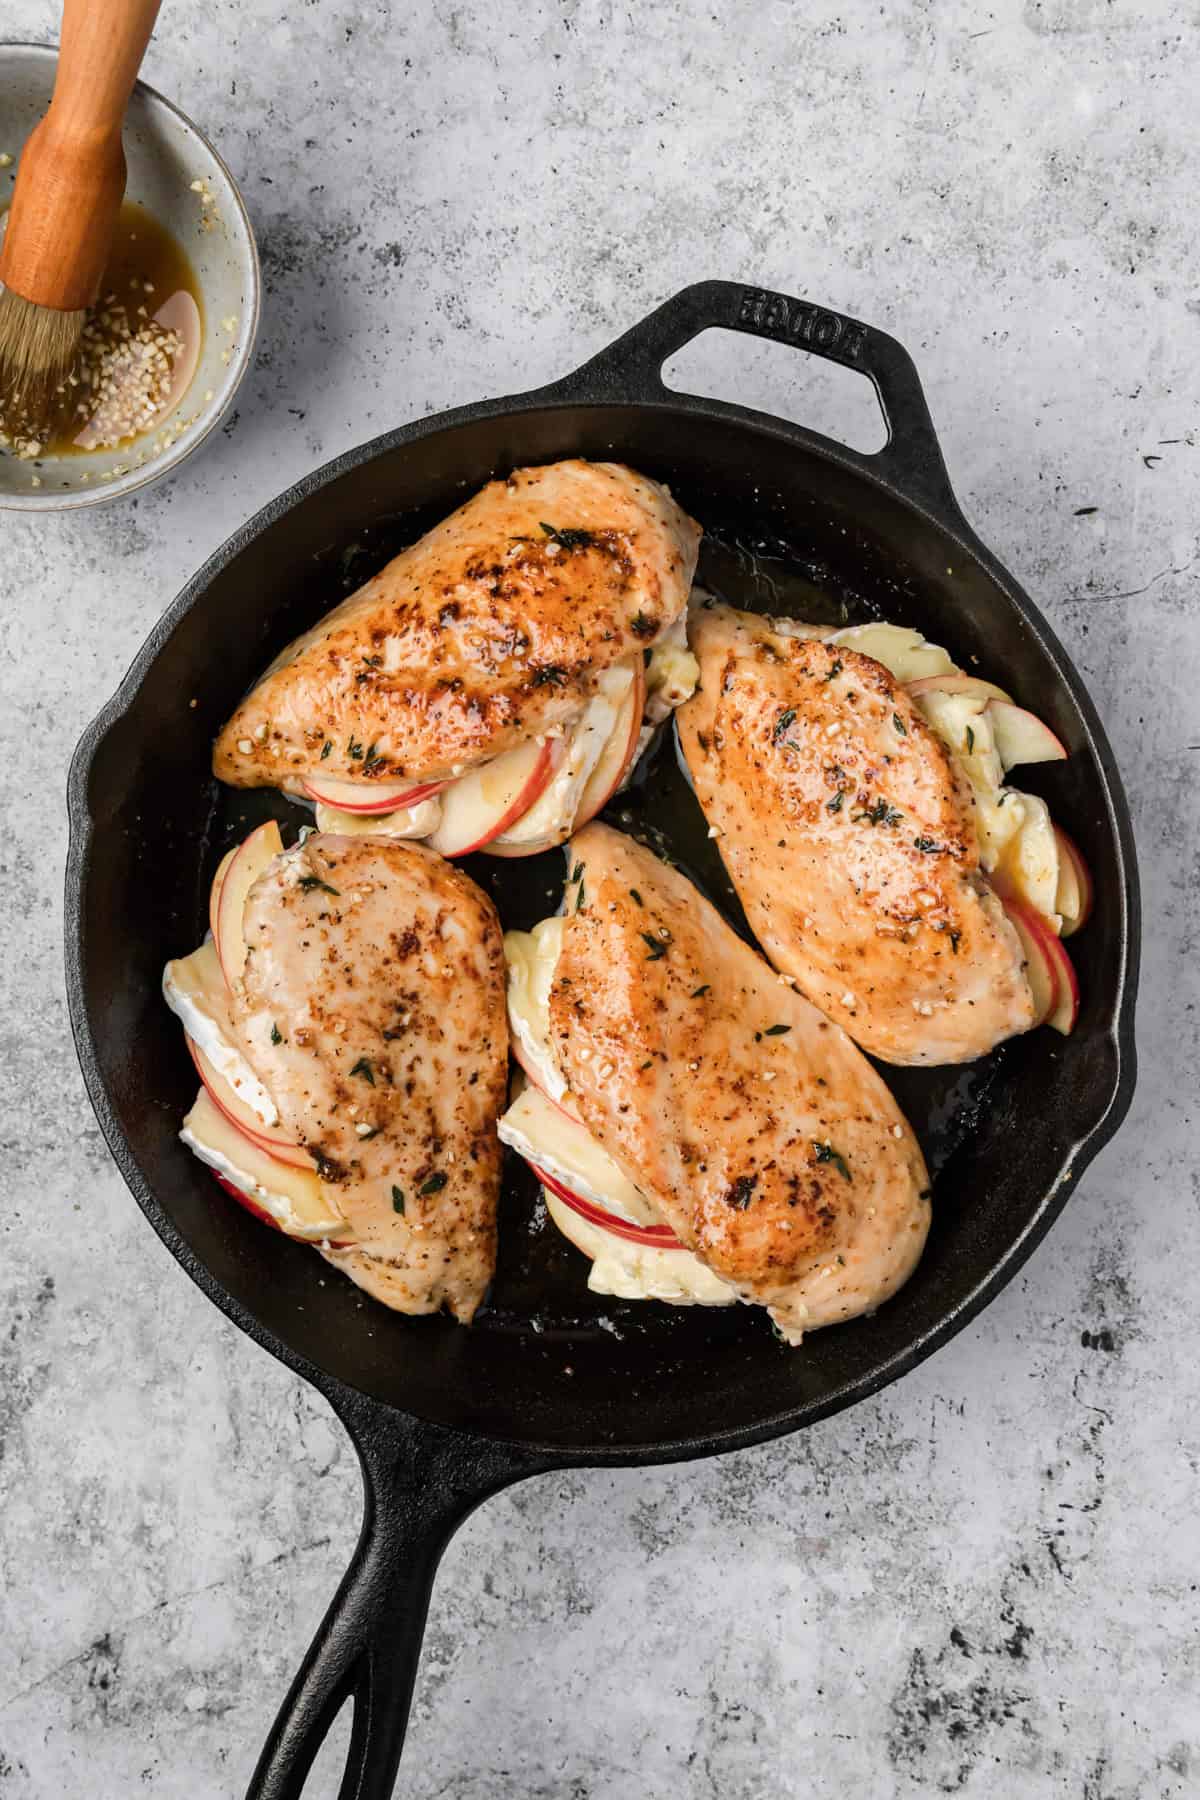
Step 4: Stuff. Open each pocket and layer in Brie and apple slices. Secure with a toothpick if the filling feels loose.
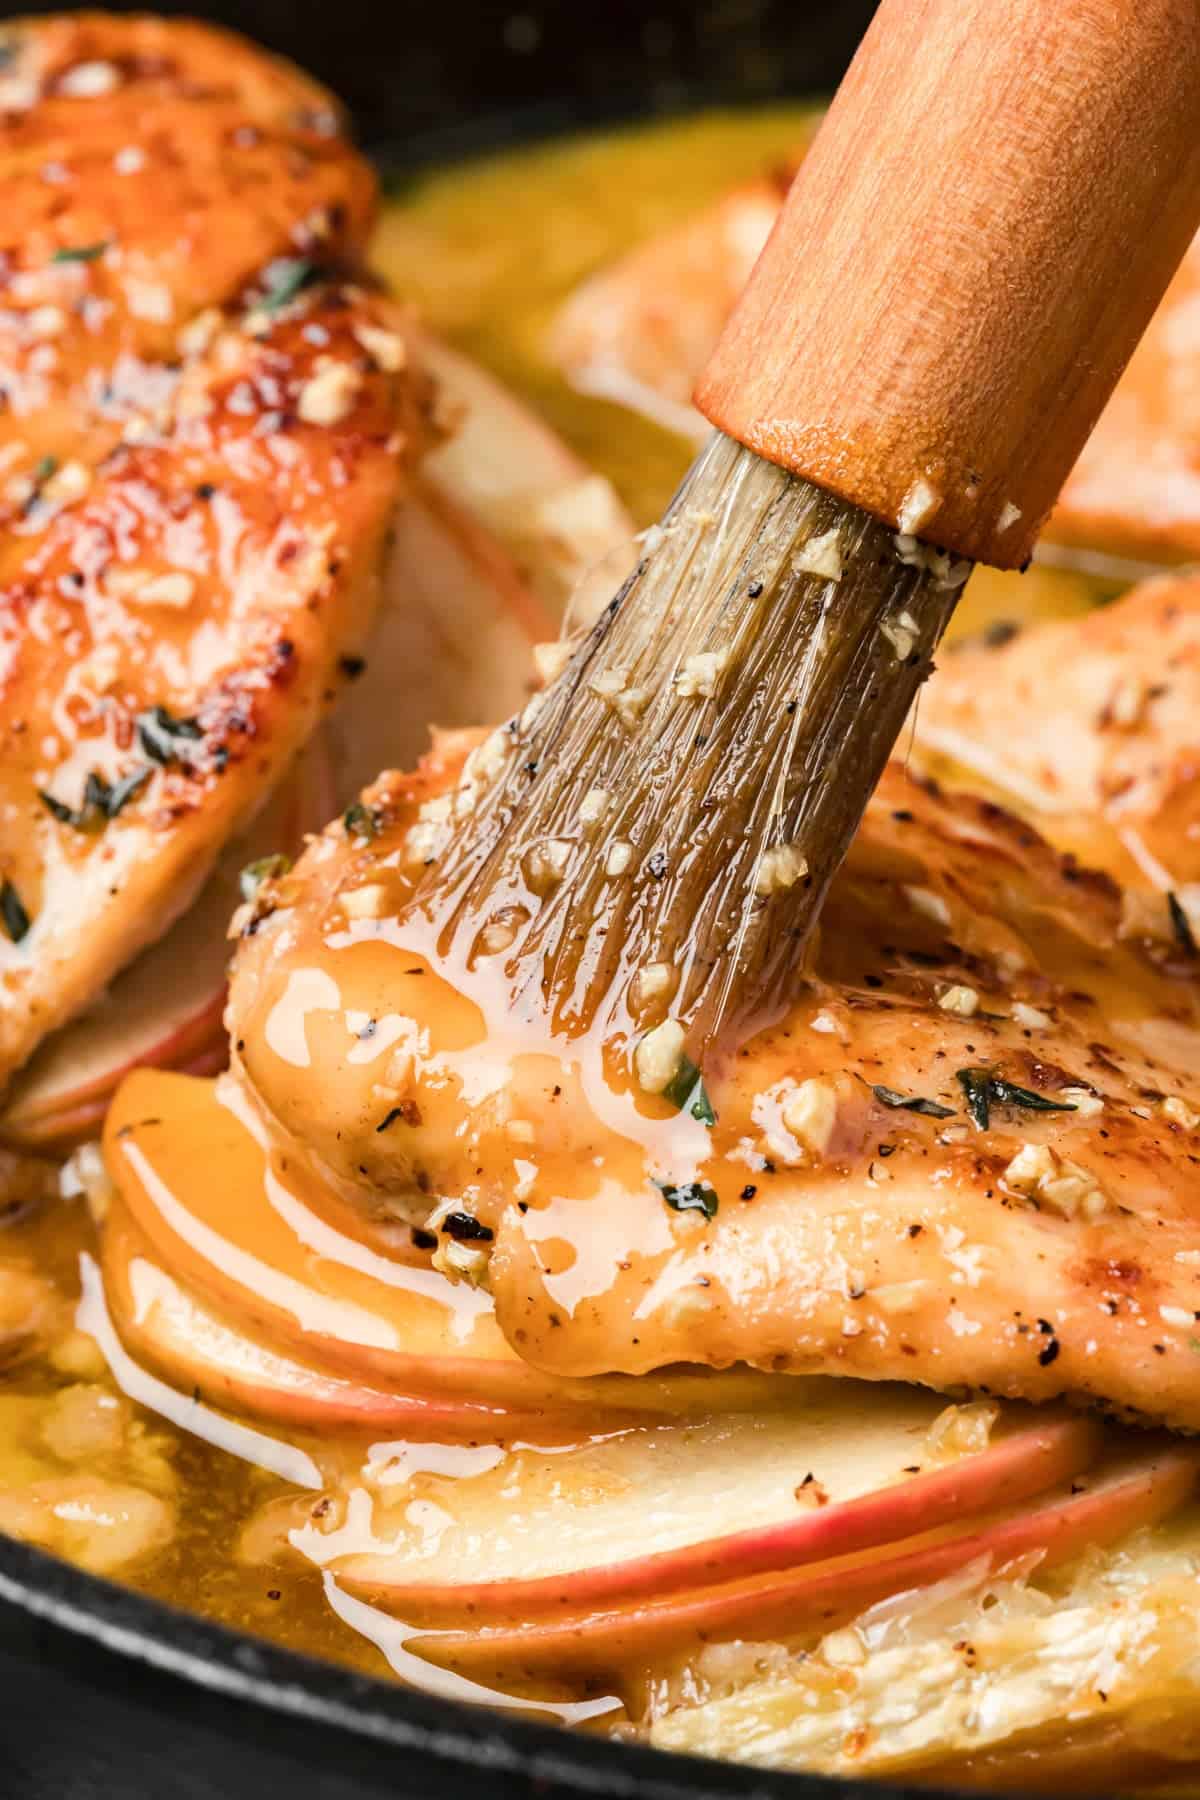
Step 5: Glaze and bake. Whisk the glaze ingredients together, brush half over the chicken, then bake at 375°F for 18 to 22 minutes, until the thickest part reaches 160°F. Tip: check the temperature in the meat itself, not the melted filling, or you’ll get a false low reading.
Step 6: Finish. Brush on a bit more glaze during the last 5 minutes for extra shine and caramelization, then let the chicken rest for 5 minutes before serving with the reserved glaze on the side.
How to Stuff Chicken Without the Filling Leaking Out
The pocket is the part people usually get wrong, so here’s exactly how to do it. Lay the chicken breast flat and cut into the thickest side, angling the knife so you’re creating a deep pocket rather than slicing straight through. You want to leave about half an inch intact on the far side and around the edges, like a little pouch. Cutting all the way through is the number one reason filling ends up in the pan instead of inside the chicken.
Sear the chicken before you stuff it, not after. This firms up the outside of the chicken so the pocket holds its shape, and it means the Brie only needs to melt, not survive a full sear on the stovetop. If your filling still feels like it wants to escape, a toothpick or two through the opening will hold everything in place while it bakes.
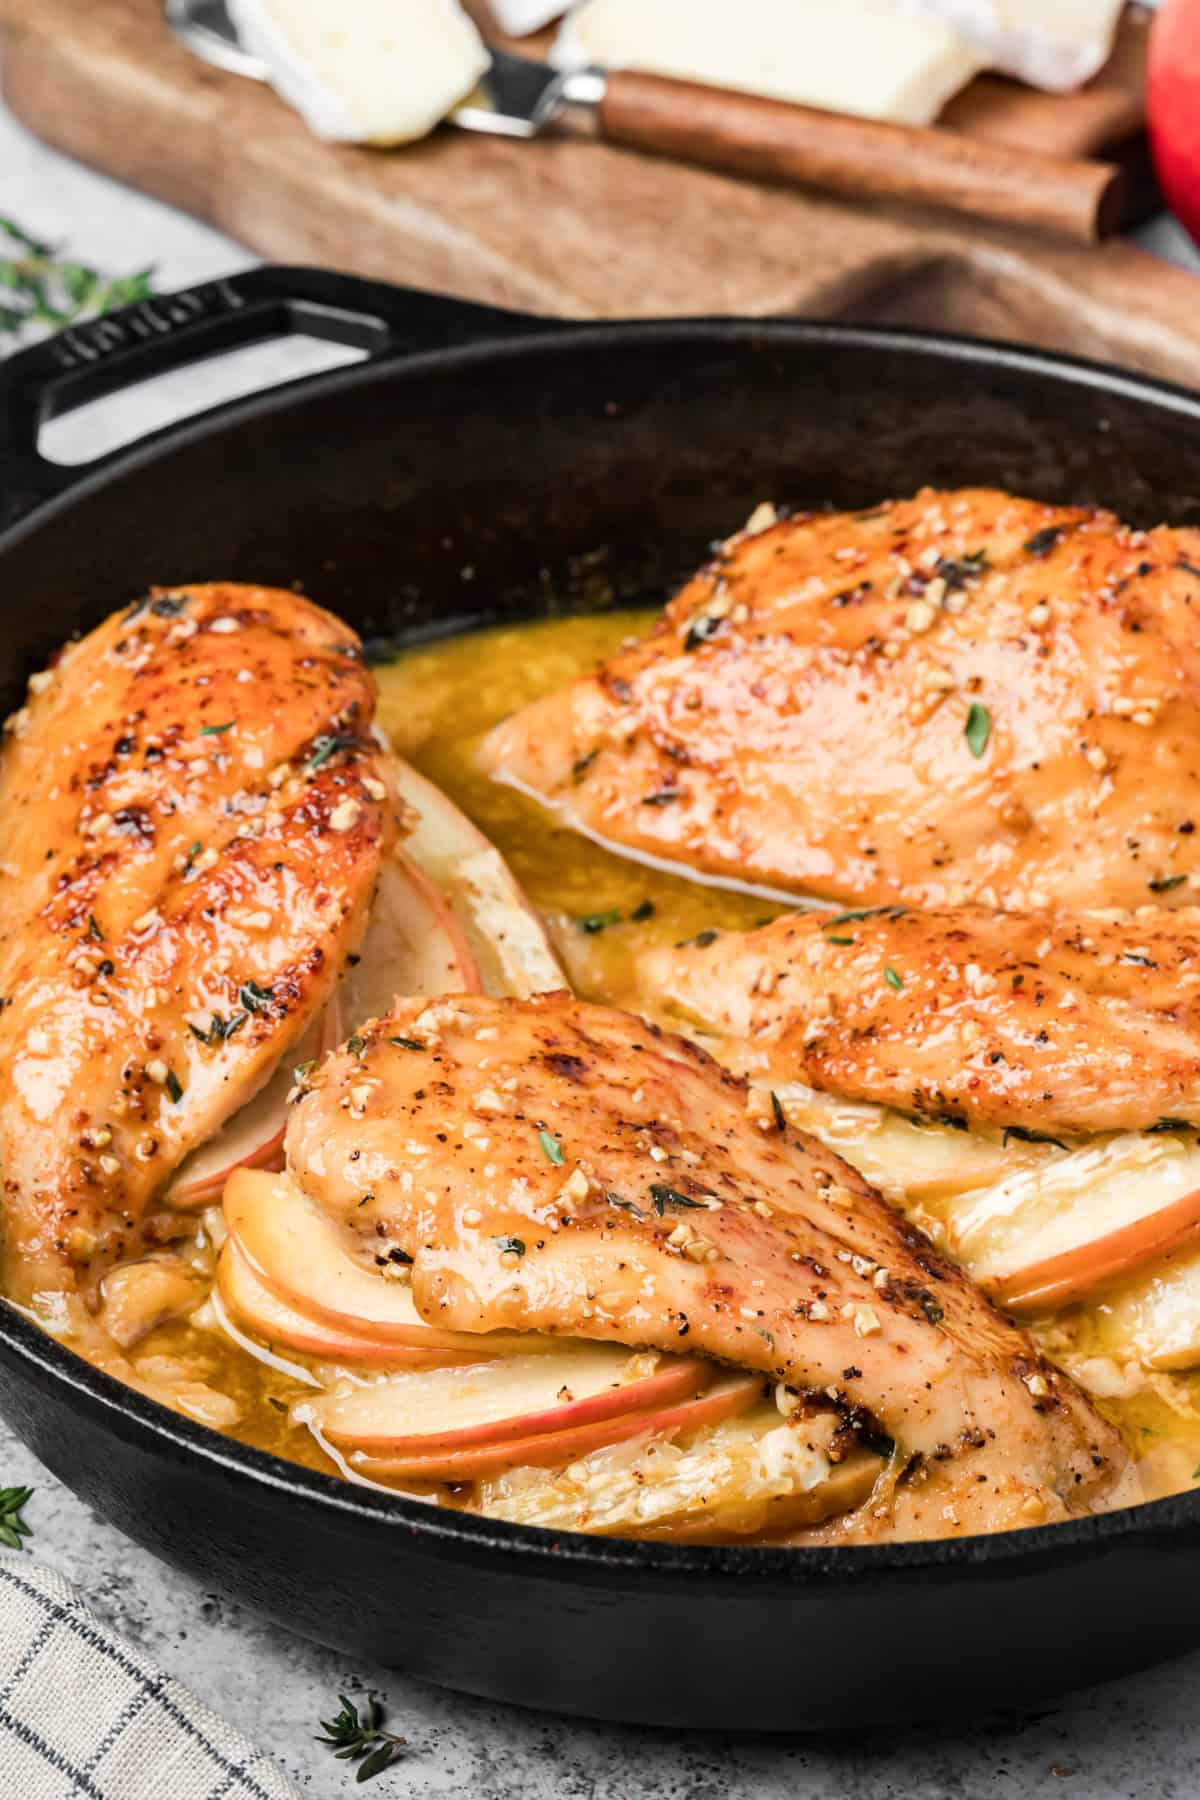
What Apple to Use
Firm, crisp apples hold their shape in the oven, while soft varieties break down into mush. Honeycrisp, Pink Lady, and Fuji all work well here because they stay slightly crisp even after 20 minutes of baking, and their sweetness plays nicely against the salty, savory glaze. If you’d rather have more contrast against the richness of the Brie, a tart apple like Granny Smith will cut through it instead of adding to the sweetness. Either direction works, it just depends on whether you want the apple to lean sweet or tart against the cheese.
Make It Ahead for Company
This is a great dish for entertaining because most of the work can happen before guests arrive. Sear the chicken, let it cool, and stuff it with the Brie and apple up to a day ahead, then keep it covered in the fridge. Mix the glaze separately and store it in its own container. When you’re ready to serve, brush on the glaze and bake straight from the fridge, adding a few extra minutes to the bake time since the chicken will be starting cold.
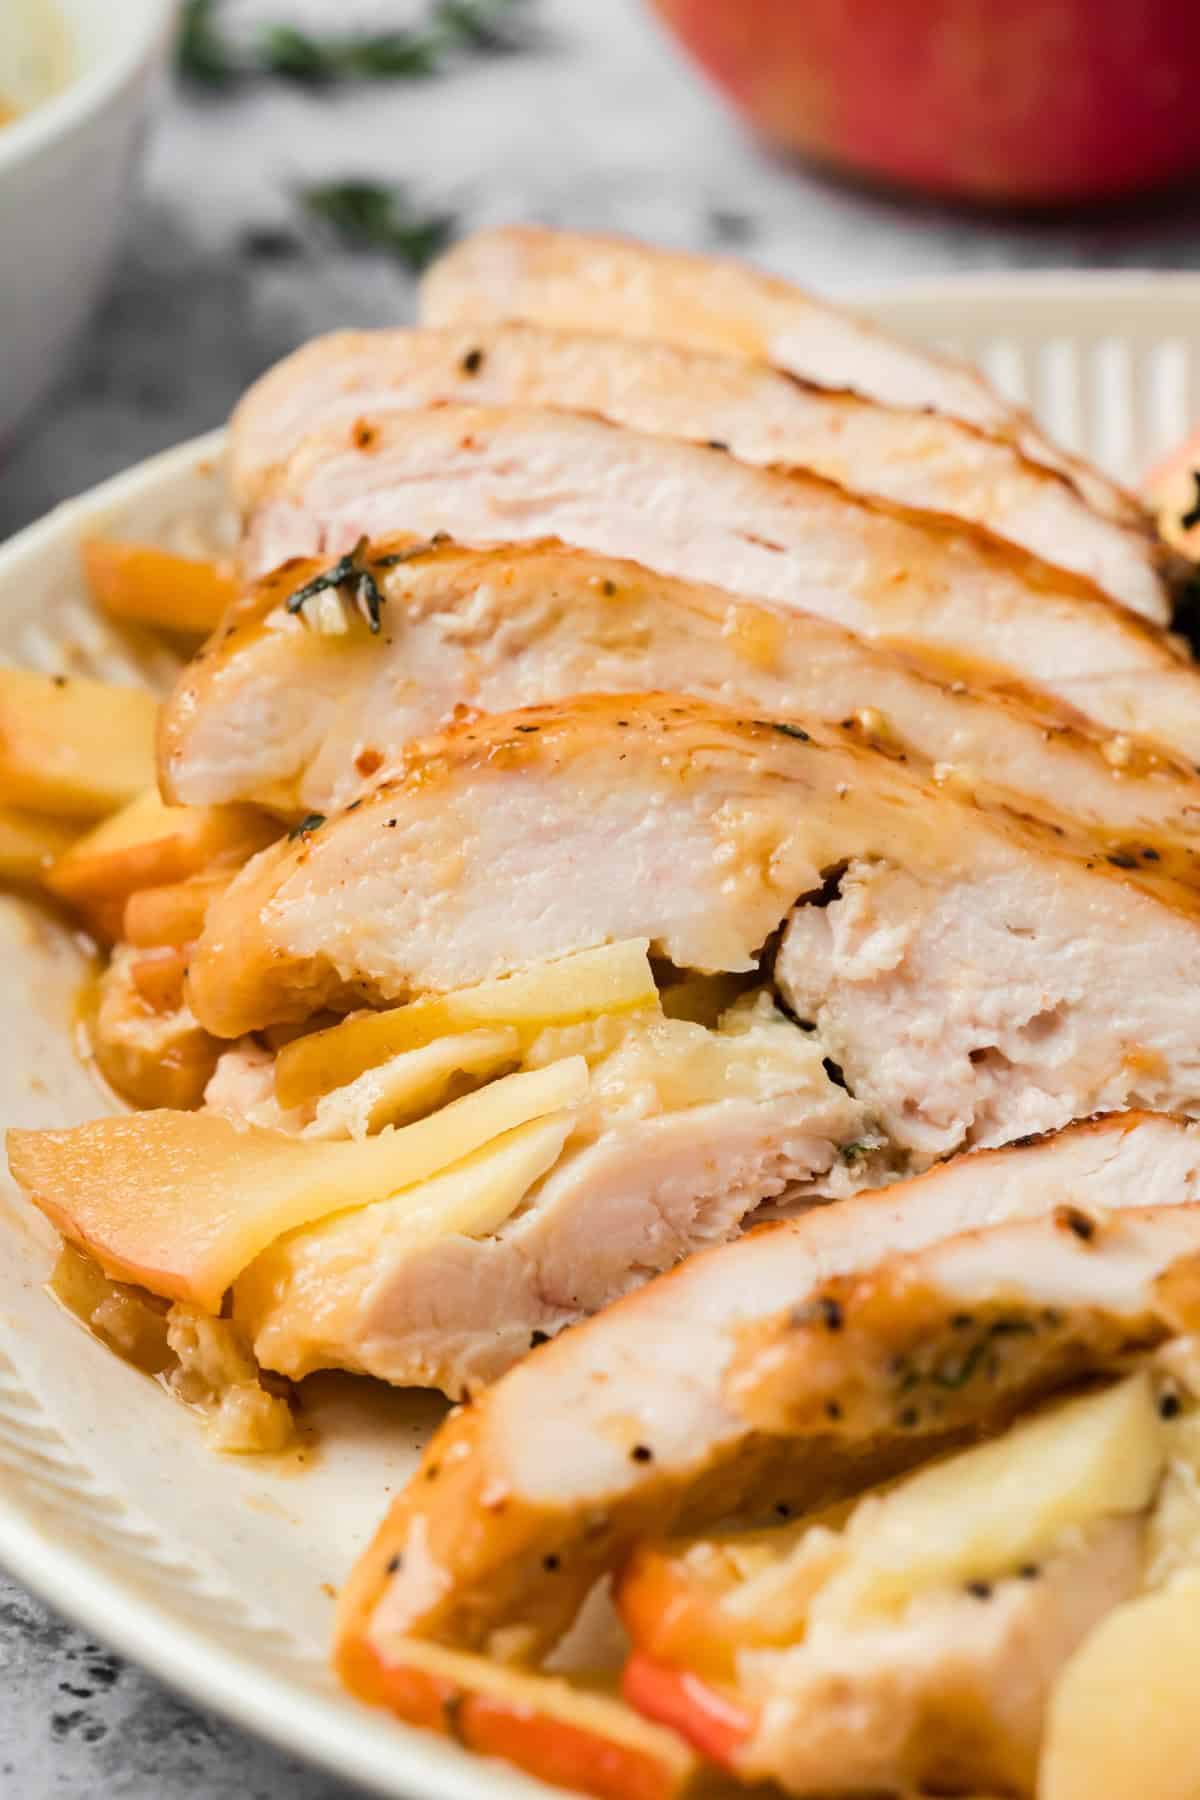
What to Serve With It
- This chicken pairs well with something to soak up the extra glaze like a crusty bread.
- Garlic smashed potatoes are a natural match, or try it alongside a fall harvest salad for something a little lighter.
- For a green vegetable, a simple roasted bok choy or balsamic roasted carrots rounds out the plate without competing with the sweet-savory flavors already going on.
Storage and Reheating
Store leftover chicken and glaze separately in airtight containers in the refrigerator for up to 3 days. Reheat gently in a 325°F oven or in the microwave until warmed through. The oven does a better job of keeping the chicken juicy and the Brie melty, while the microwave can sometimes make the outside a bit tough.
Recipe FAQ
Yes. Gruyère, fontina, gouda, or aged cheddar all melt well and hold up in the oven the same way Brie does.
This usually happens when the pocket is cut all the way through, or when the chicken is stuffed before it’s seared. Searing first firms up the chicken so the pocket holds its shape, and a toothpick will help if the opening feels loose.
Yes. Sear and stuff the chicken up to a day in advance, store it covered in the fridge, then glaze and bake it when you’re ready to serve.
A firm, crisp apple like Honeycrisp, Pink Lady, or Fuji holds its shape best in the oven. If you want more tang, Granny Smith works too.
More Fall Recipes
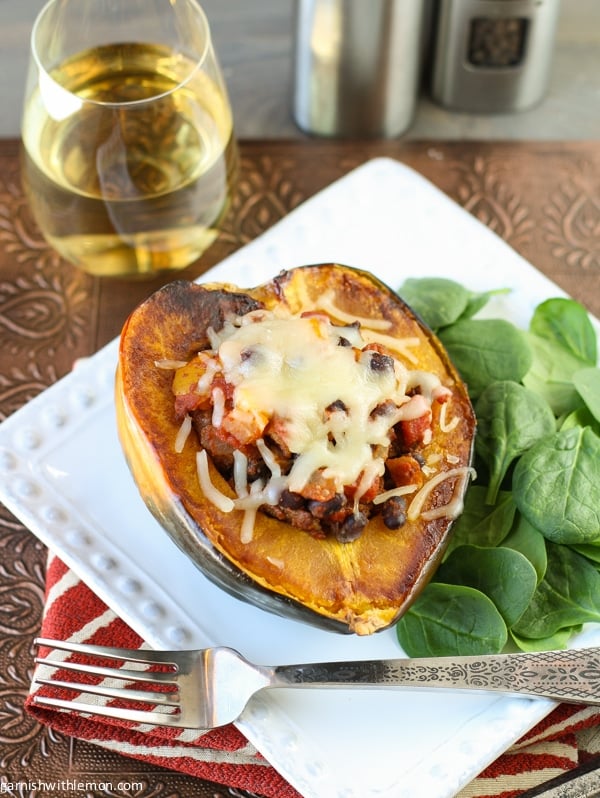

Mediterranean
Mediterranean Stuffed Acorn Squash

Vegetarian
Butternut Squash Chickpea Curry

Vegetarian
Butternut Squash Apple Bake
Tried this recipe? Leave a star rating and comment below! Subscribe to my newsletter or follow me on Facebook, Instagram, or Pinterest for the latest.
Apple Brie Stuffed Chicken

Ingredients
For the apple brie chicken:
- 4 large boneless, skinless chicken breasts
- 1 teaspoon kosher salt
- 1/2 teaspoon black pepper
- 1/2 teaspoon garlic powder
- 1/2 teaspoon
onion powder
- 1 teaspoon fresh thyme leaves
- 1 tablespoon olive oil
- 1 tablespoon unsalted butter
- 4 ounces Brie cheese, chilled and sliced
- 1 large apple, cored and thinly sliced
For the maple dijon glaze:
- 6 tablespoons maple syrup
- 4 teaspoons Dijon mustard
- 2 teaspoons apple cider vinegar
- 1 teaspoon soy sauce
- 2 garlic cloves, finely minced
- 1/2 teaspoon black pepper
Instructions
- Preheat the oven to 375°F (190°C).
- Cut a deep pocket into the thickest side of each chicken breast, being careful not to cut all the way through.
- Season the chicken, including inside the pockets, with salt, pepper, garlic powder, onion powder, and thyme.
- Heat olive oil and butter in a large oven-safe skillet over medium-high heat. Sear the chicken for 2-3 minutes per side, until lightly golden. The chicken should not be cooked through at this point. Transfer to a plate and let cool for 5 minutes, or until cool enough to handle.
- Open each pocket and layer Brie cheese and apple slices inside. Secure with toothpicks if needed.
- In a small bowl, whisk together the glaze ingredients until smooth. Reserve half for serving and brush the remaining glaze over the stuffed chicken.
- Return the chicken to the skillet and bake for 18-22 minutes, or until the thickest part of the breast reaches 160°F (71°C). Avoid inserting the thermometer into the filling.
- For more flavor, brush the chicken with another light coat of the glaze during the last 5 minutes of baking.
- Remove from the oven and let the chicken rest for 5 minutes. Drizzle the reserved glaze over or serve it on the side for dipping. Garnish with additional fresh thyme leaves,
Notes
- Larger chicken breasts, around 8 to 9 ounces, are easier to stuff and hold the filling better than smaller ones.
- Keep the Brie refrigerated until right before slicing since cold Brie is much easier to cut cleanly.
- Firm apples hold their shape during baking better than soft varieties, which tend to turn mushy.
- No oven-safe skillet? A lightly greased baking dish works fine for the baking step.
- Store chicken and glaze separately for up to 3 days; reheat in the oven for the best texture.
Nutrition
Nutrition information is automatically calculated, so should only be used as an approximation.










A delicious fall recipe for stuffed chicken.