
This post may contain affiliate links.
These no-bake chocolate walnut date bars have a soft, fudgy date base and a glossy chocolate top with a pinch of flaky salt. You only need 6 ingredients and a food processor, and the fridge does the rest.
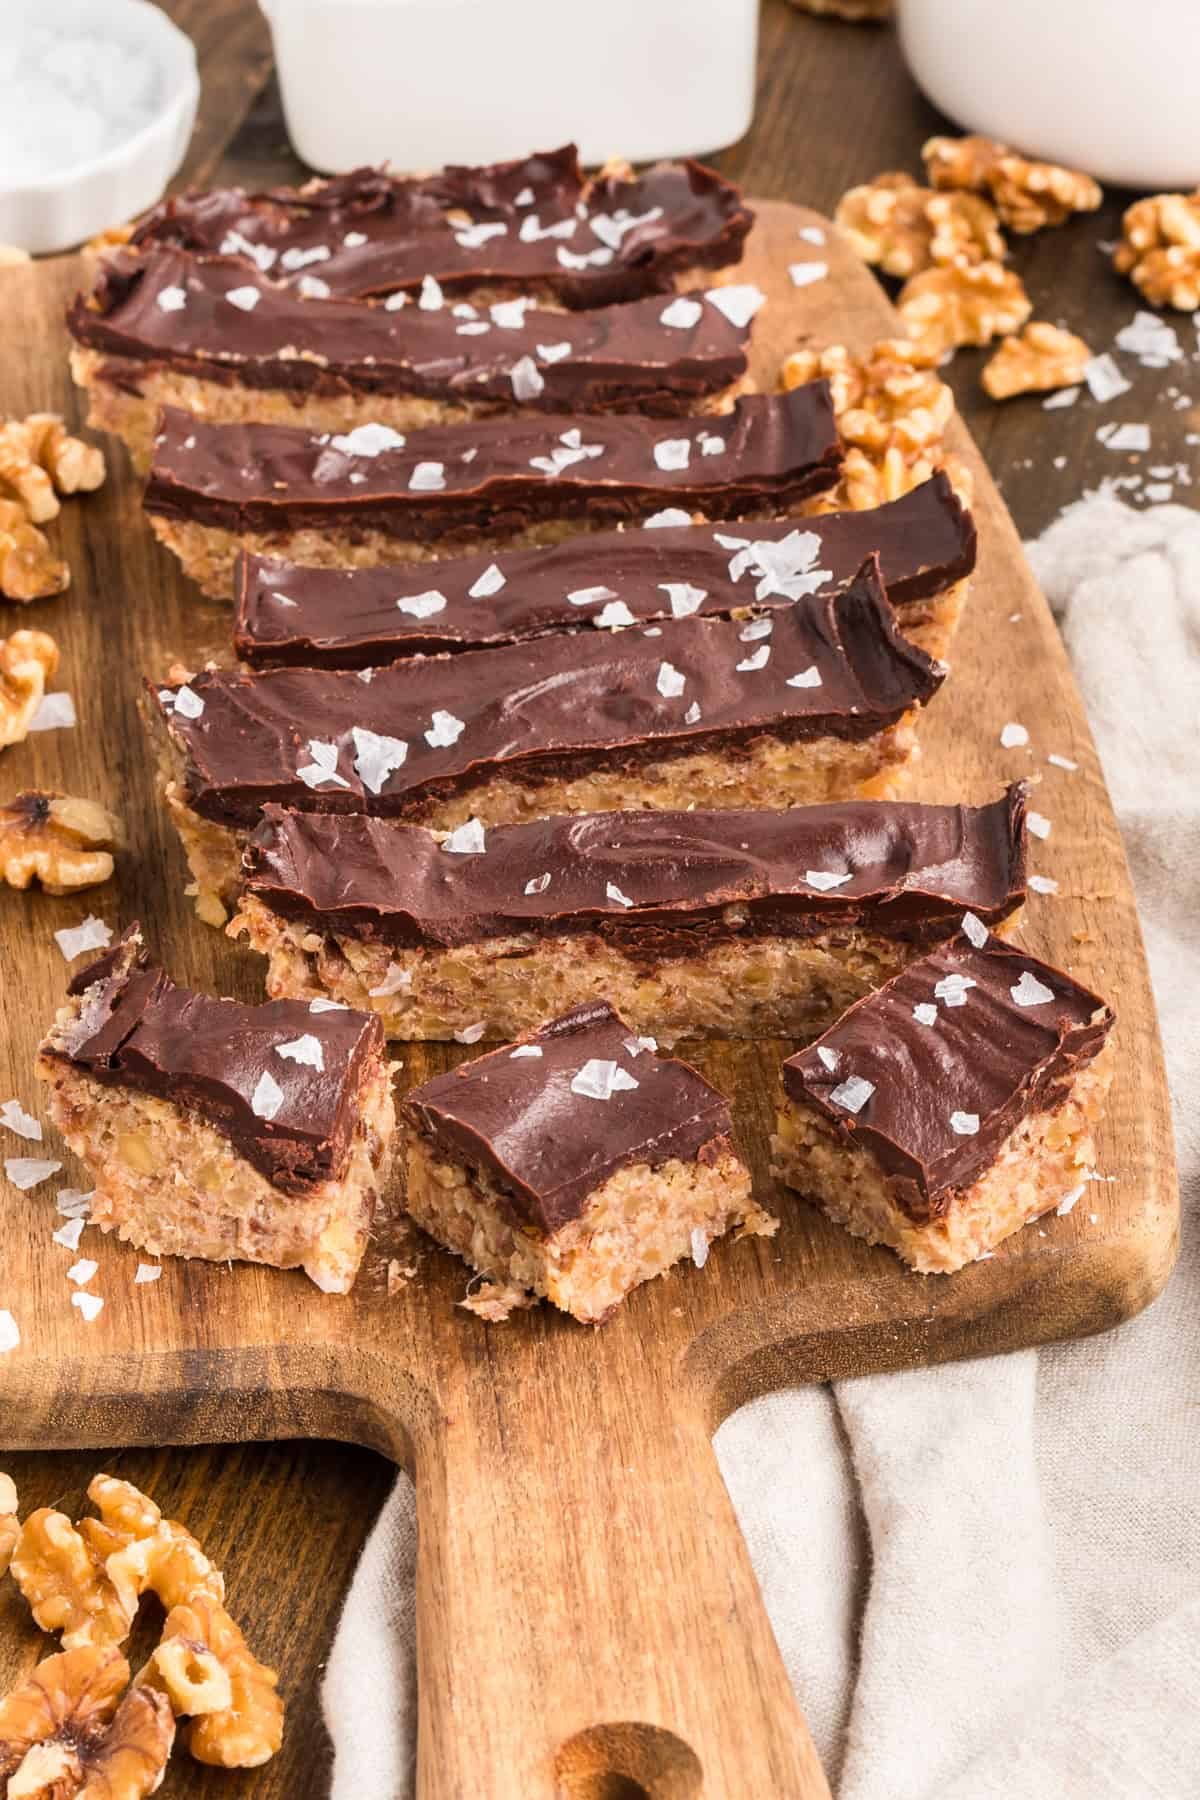
These no-bake chocolate walnut date bars are fudgy, chewy, and finished with a glossy salted chocolate layer that snaps when you bite in. You only need 6 ingredients and a food processor, and the bars set in the fridge while you get on with your day.
Think of them as the flavors of my favorite Lebanese date cookies turned into an easy make-ahead treat. Growing up, dates and walnuts meant ma’amoul, and the house would smell like toasted nuts and orange blossom for days before every holiday. This version gives me that same cozy flavor without the hours of shaping cookies.
Sticky Medjool dates do all the work here. They blend into a thick, caramel-like base, so there’s no flour, no oats, and no refined sugar. I keep a batch in the freezer for afternoon cravings, after-school snacks, and those nights when everyone wants a little something sweet after dinner. If you like these, you might also love my Easy Date Protein Balls.
Why These Chocolate Walnut Date Bars Work

They work because simmered dates turn into a thick, caramel-like paste that holds toasted walnuts together without any flour, oats, or binders.
Toasting the walnuts takes 5 minutes and is worth it. It turns them from flat and slightly bitter to rich and buttery, and that toasted flavor comes through even under the chocolate.
If you love a chewier, oat-packed bar for lunchboxes, my Easy Date Granola Bars are a great one to keep in rotation too.

Recipe Ingredients for No Bake Date Bars
These simple pantry staples are all you need. See the recipe card below for exact amounts and printable instructions.
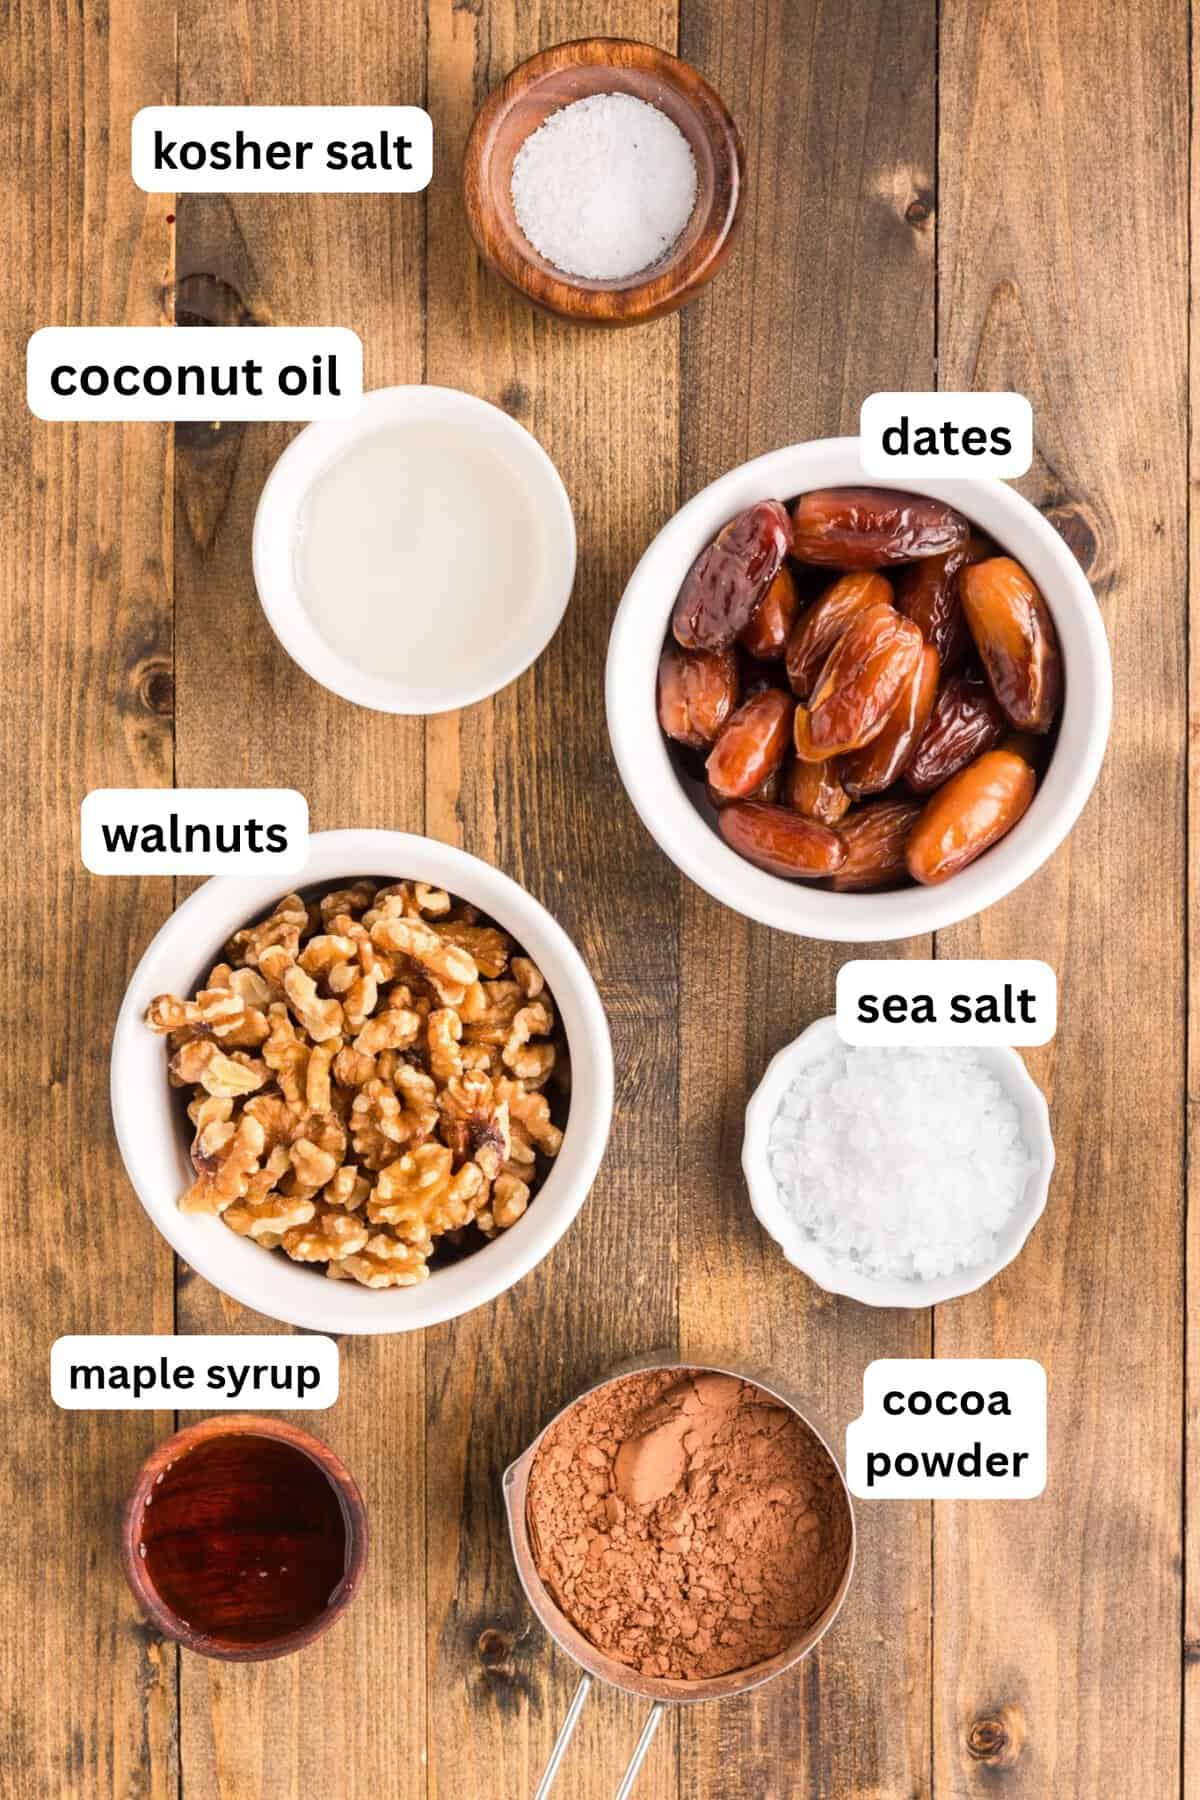
- Medjool dates: These are the soft, sticky dates that make the base. Use pitted Medjools for the best texture. Deglet Noor dates are drier and won’t hold together as well.
- Walnuts: Look for walnuts with a darker brown skin rather than the pale ones. They have more flavor, especially once toasted. Pecans work in a pinch.
- Cocoa powder: Unsweetened cocoa or cacao powder both work. Cacao gives a slightly more bitter, darker chocolate flavor.
- Coconut oil: This is the secret to the topping. It’s liquid when warm and firms up in the fridge, which gives you that crisp chocolate layer.
- Maple syrup: This sweetens the chocolate topping. Honey works if you don’t need the bars to be vegan.
- Salt: Coarse kosher salt goes in the base to balance the sweetness of the dates, and a pinch of flaky salt finishes the top.
Recipe Modifications
- Ma’amoul-style: Add a pinch of cinnamon or a few drops of orange blossom water to the base for a Lebanese touch.
- Extra crunch: Sprinkle finely chopped walnuts, pumpkin seeds, or sunflower seeds over the chocolate before it sets.
- Different nuts: Swap the walnuts for pecans or almonds and toast them the same way.
- Nut butter swirl: Drizzle a spoonful of tahini or almond butter over the chocolate and swirl it with a toothpick.
- Espresso kick: Stir a little instant espresso powder into the topping to deepen the chocolate flavor.
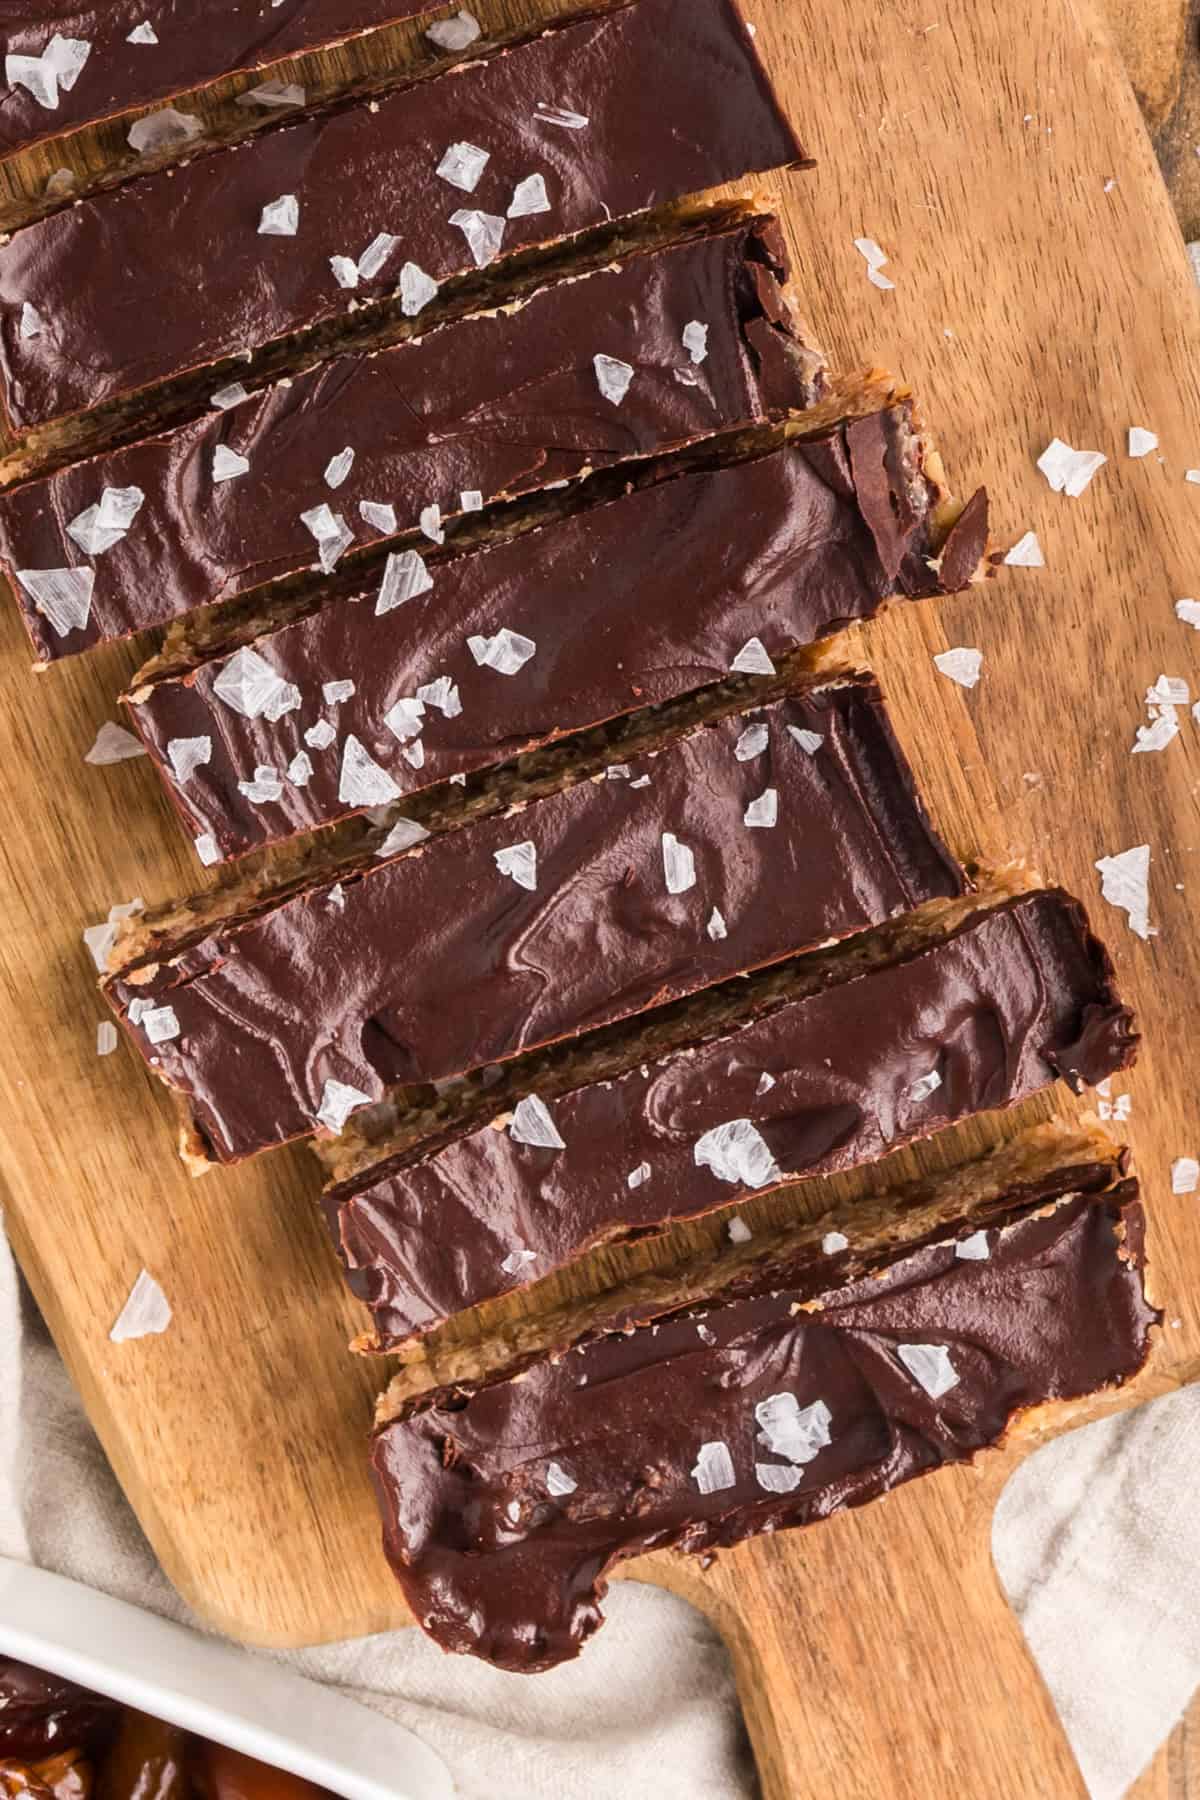
How to Make No-Bake Chocolate Walnut Date Bars
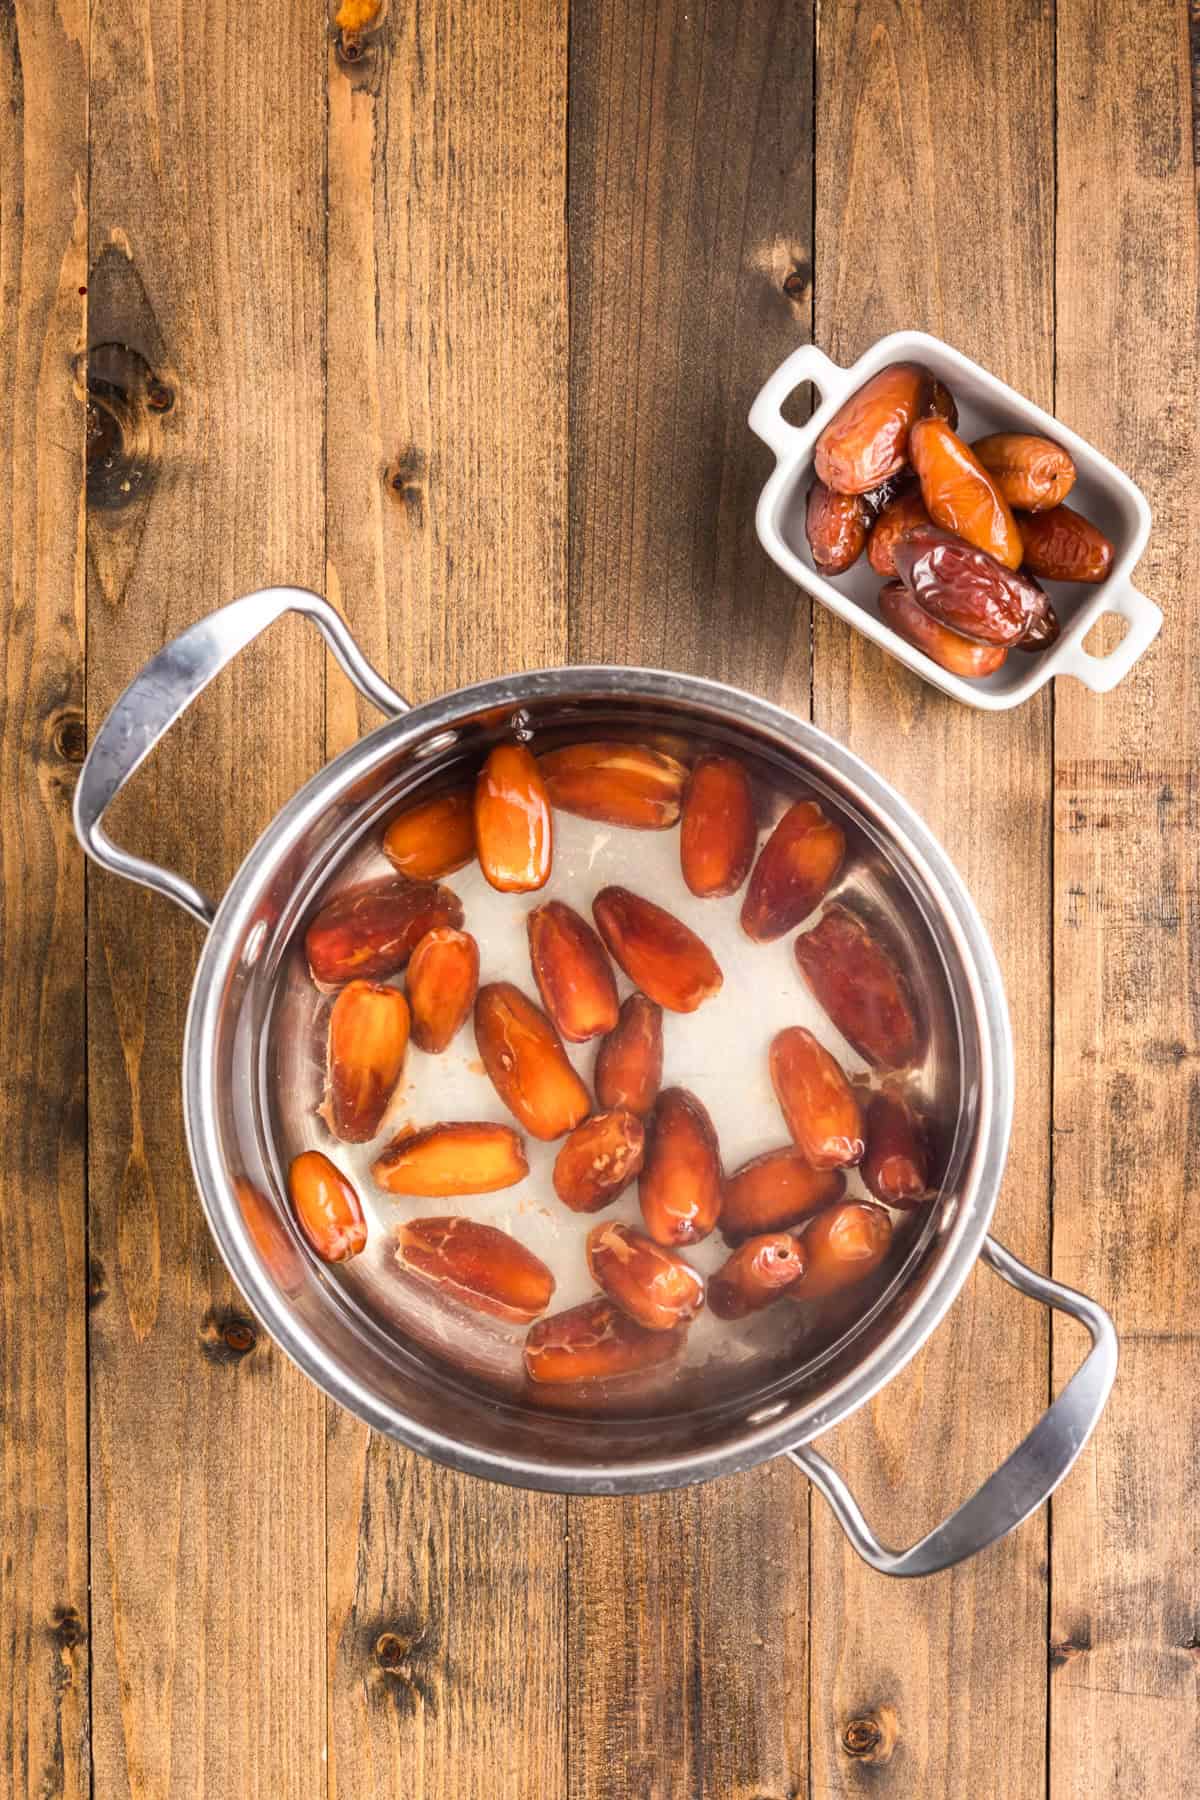
Step 1: Soften the dates. Cover the pitted dates with water in a saucepan, bring to a boil, then simmer for 5 minutes. They’re ready when the skins look loose and a date squishes flat under a spoon.
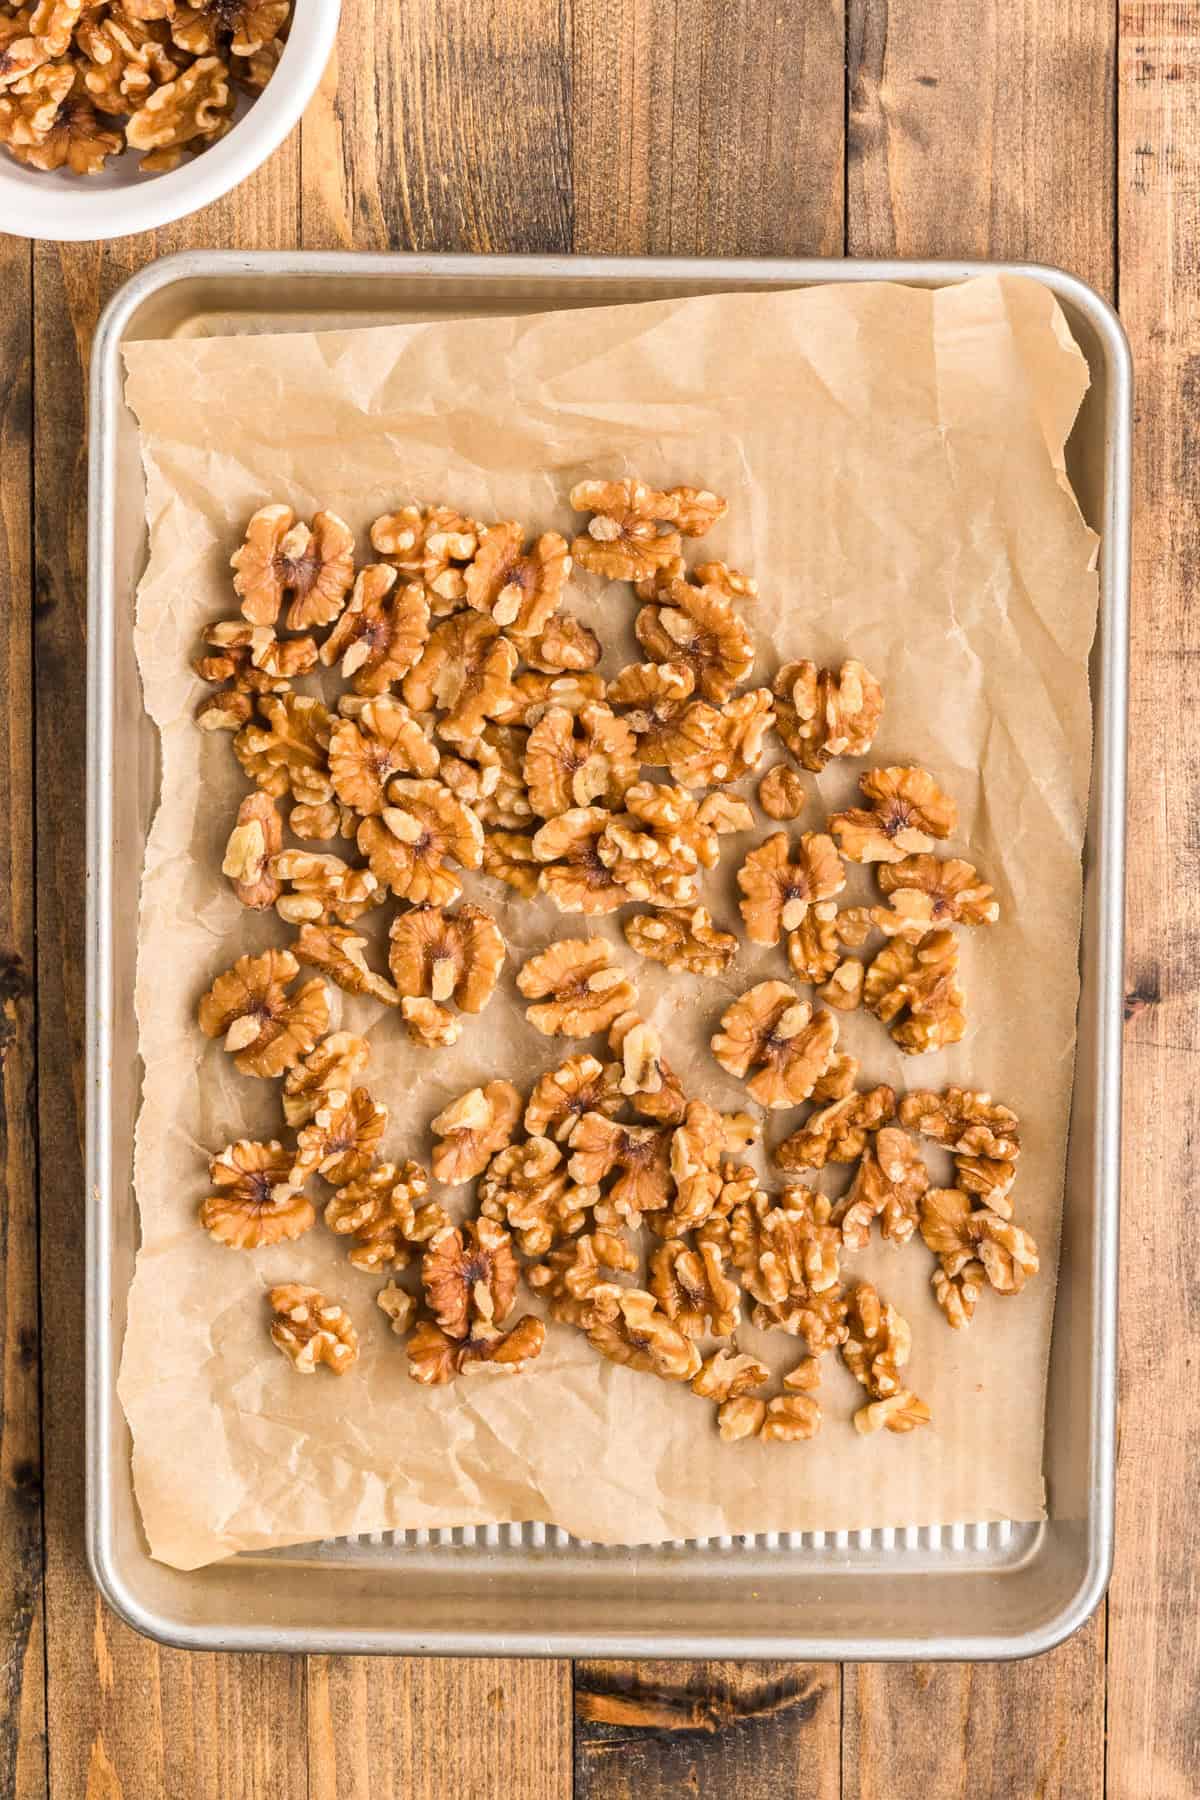
Step 2: Toast the walnuts. Spread the walnuts on a parchment-lined baking sheet and bake at 350°F for 5 minutes. Pull them when they smell nutty and look a shade darker.
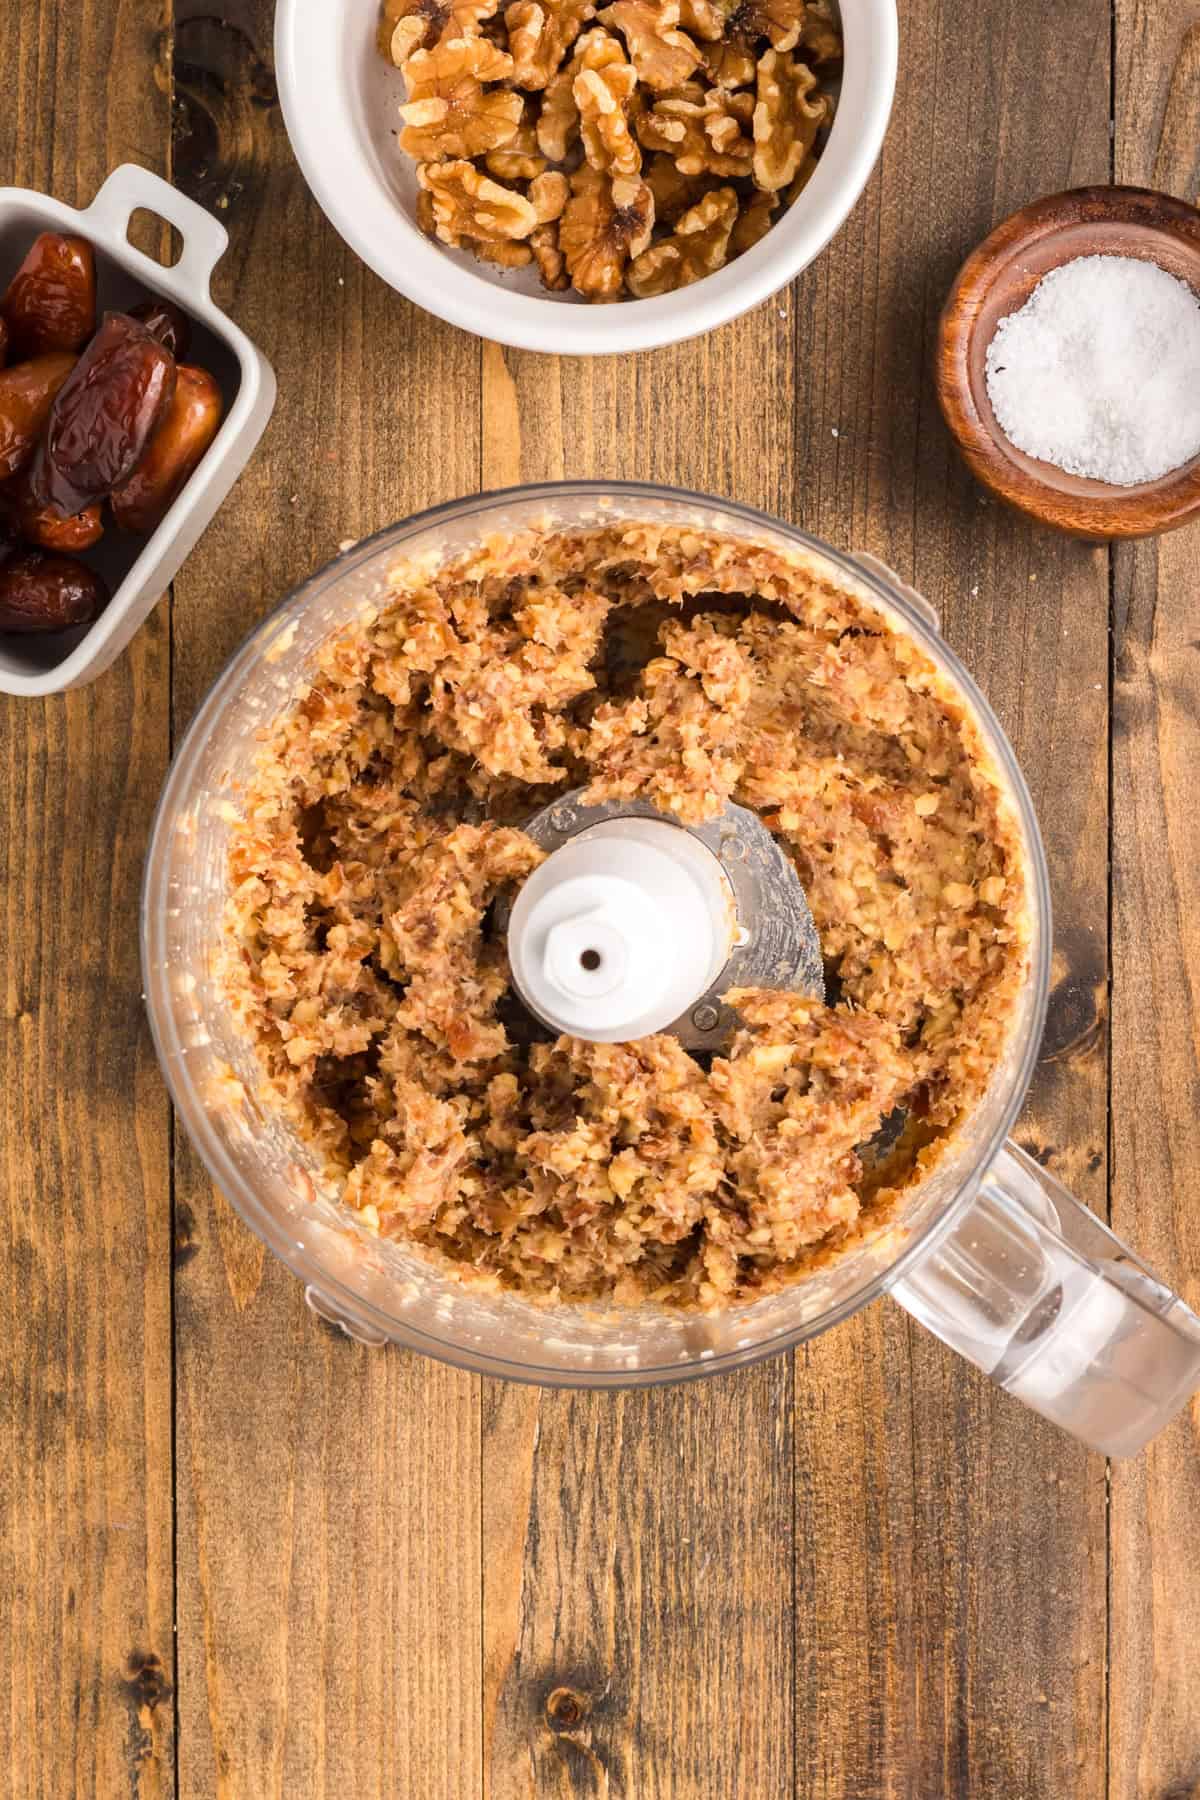
Step 3: Blend the base. Drain the dates well, then add them to a food processor with the walnuts and salt. Blend until the mixture clumps into a thick, sticky ball that rides around the blade.
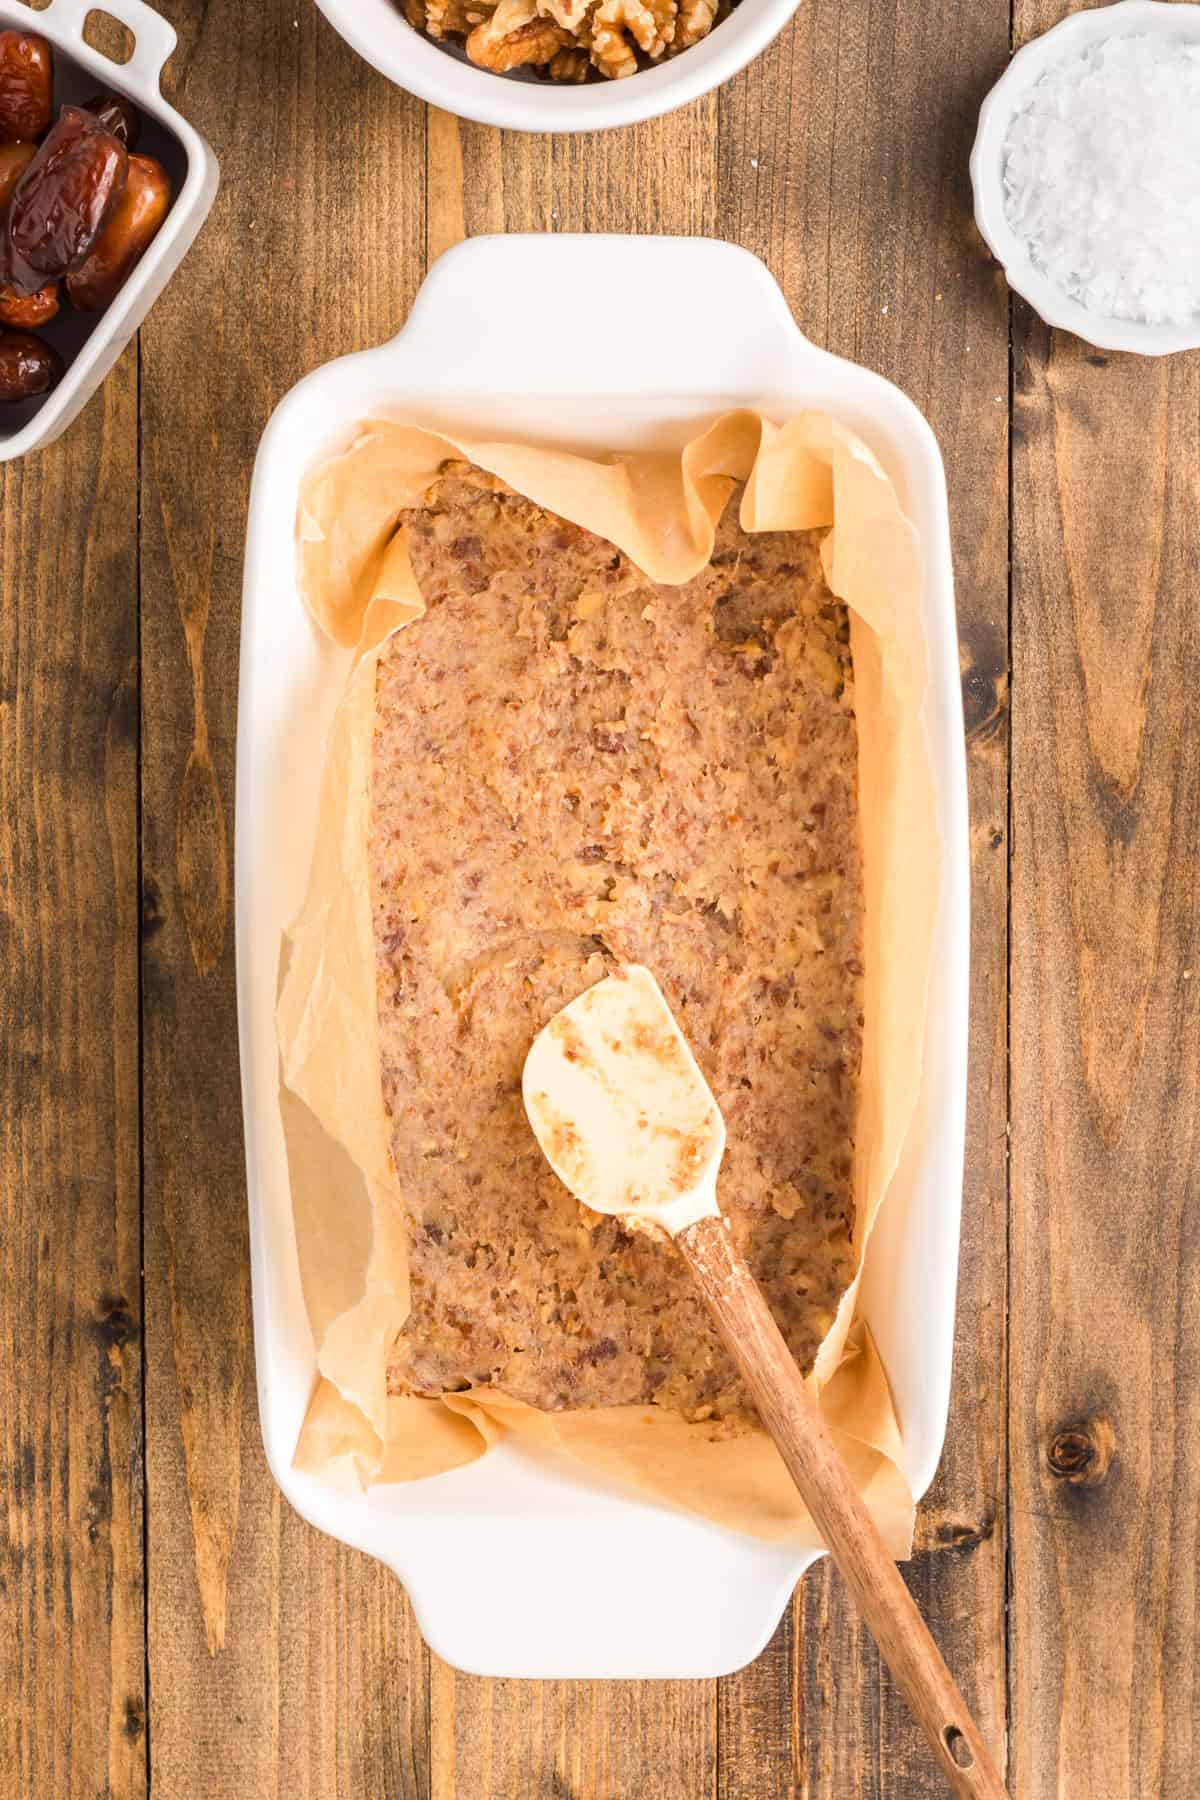
Step 4: Press it into the pan. Line a loaf pan with parchment, add the mixture, and press it down firmly into an even layer. Tip: a lightly oiled measuring cup makes pressing much easier.
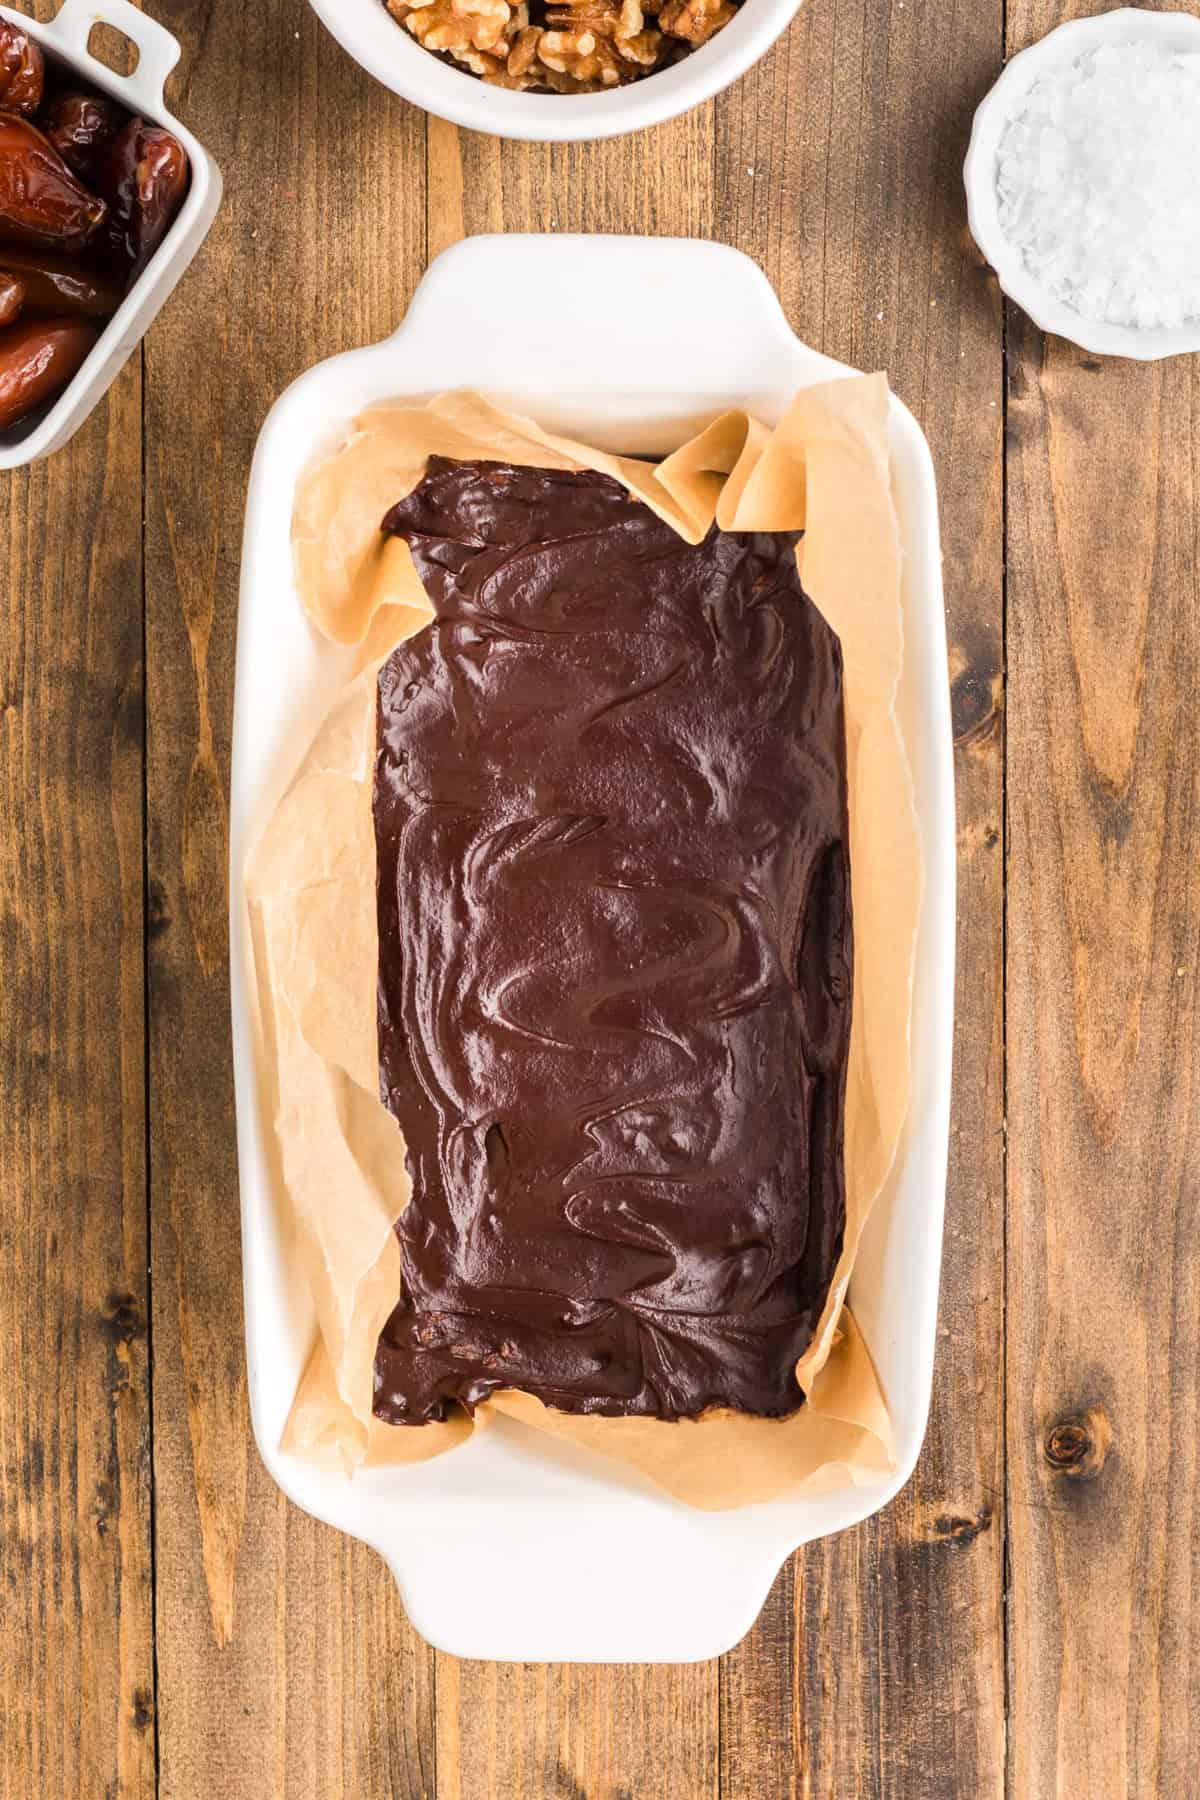
Step 5: Make the topping. Stir the cocoa powder, melted coconut oil, and maple syrup together until smooth and glossy. It should pour like warm honey. Pour the chocolate over the base and spread it to the edges. Refrigerate for at least 1 hour, until the top looks matte and doesn’t dent when you press it.
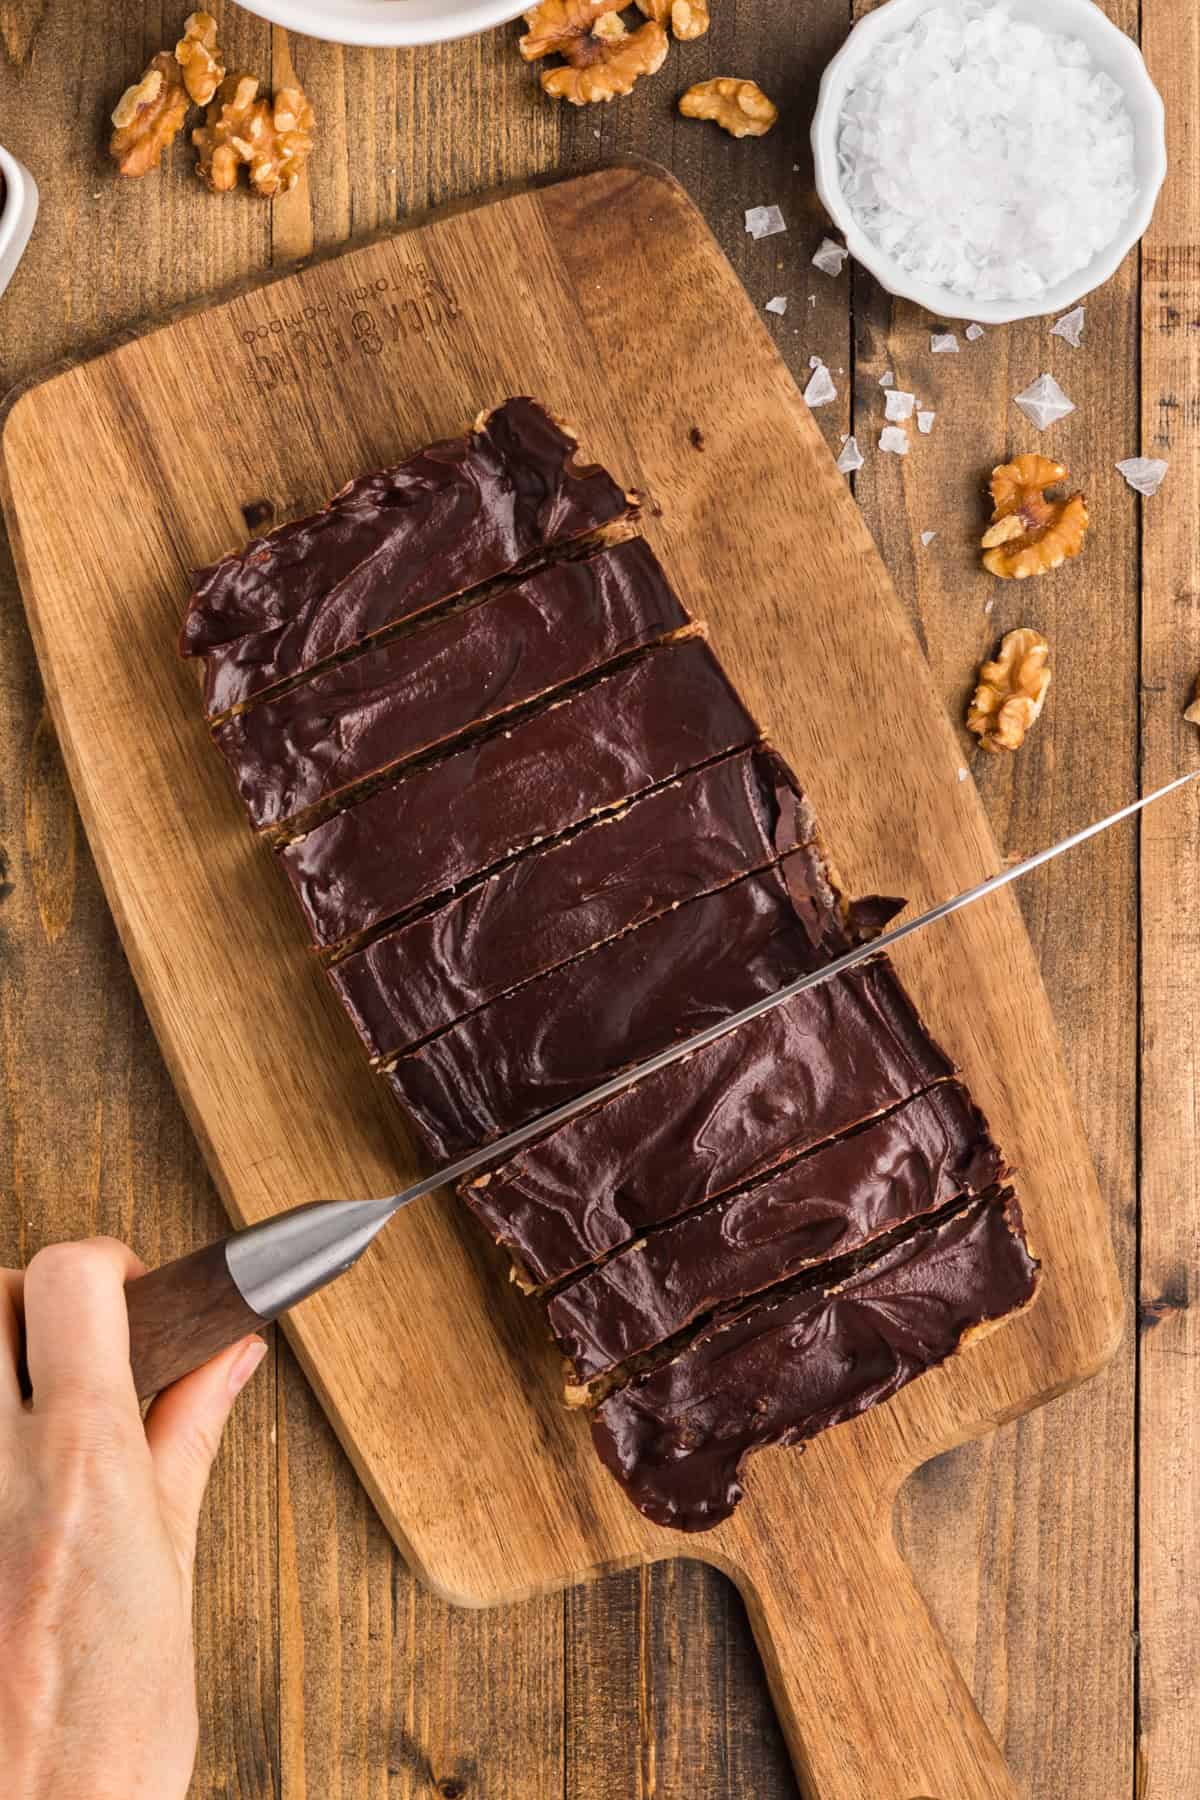
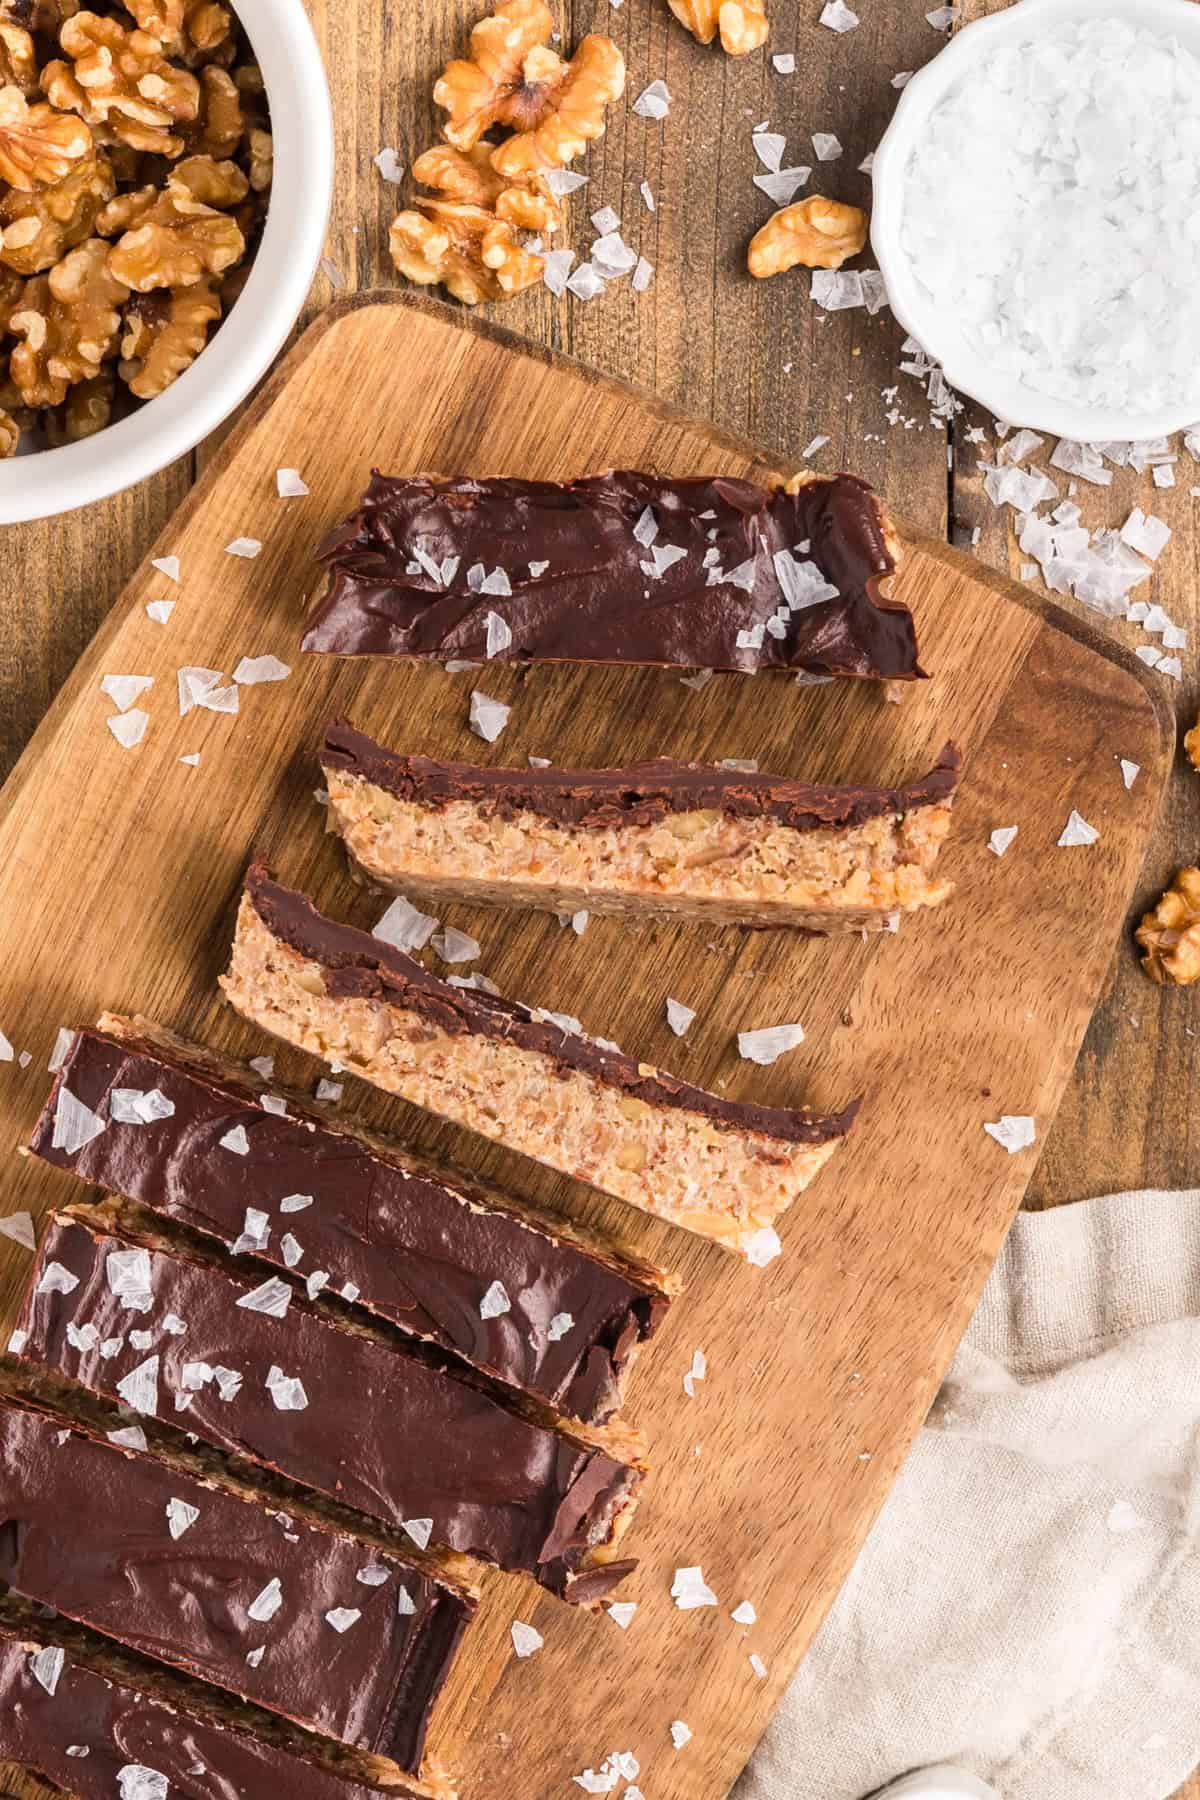
Step 6: Slice and serve. Sprinkle with flaky salt, lift the bars out by the parchment, and cut into 8 bars.
How to Keep Date Bars From Falling Apart
The most common problems are a dry base and a chocolate top that cracks. Both are easy to fix.
- Drain the dates really well: Extra water makes the base gummy and keeps it from setting, so let them sit in the colander for a minute and shake off the excess.
- Fix a crumbly mixture: If the base won’t hold together when you pinch it, add one or two more dates or a teaspoon of warm water and blend again.
- Press harder than you think: Firm, even pressure turns a loose mixture into a sliceable bar, so pay extra attention to the corners.
- Stop the chocolate from cracking: Cold coconut oil turns brittle, so give the bars 5 minutes on the counter before slicing with a knife dipped in hot water.
Recipe Tips
- Pick plump dates: Soft, glossy Medjool dates blend smoother than dry, wrinkled ones, so give the package a gentle squeeze before you buy.
- Let the base cool slightly: If the date mixture is still hot, the coconut oil in the topping can separate, so give the base 10 minutes before you add the chocolate.
- Warm the coconut oil gently: Melt it just until it turns liquid, since very hot oil makes the topping thin and streaky.
- Taste the topping first: Taste the chocolate before you pour it, and add a little more maple syrup if you like it sweeter.
- Salt at the right time: Add the flaky salt just before slicing so it stays crunchy instead of melting into the chocolate.
- Use a food processor, not a blender: A blender can’t move the thick date mixture around and will stall, while a food processor chops and presses everything into a sticky dough.
- Scrape down the bowl: Stop once or twice while blending to push the mixture down from the sides so no whole walnut pieces or dry spots get left behind.
How to Store and Freeze Date Bars
- Keep the bars in an airtight container in the fridge for up to 4 days. They’re fine out on a dessert table for a short time, but the chocolate softens at room temperature, so keep them chilled until serving.
- To freeze, slice the bars first, layer them between parchment, and freeze for up to 2 months. Let them thaw in the fridge or sit on the counter for about 10 minutes before eating.
Recipe FAQ
Yes. The bars themselves are never baked. The walnuts are toasted in the oven for 5 minutes for flavor, but you can skip that step and use them raw if you prefer.
Simmering softens the dates so they blend into a smooth, sticky paste that holds everything together. It’s especially helpful if your dates are a little dry.
Yes. Fine salt works in the base, but use about half as much since it tastes saltier than coarse kosher salt. Flaky sea salt is best on top for crunch.
Yes, they swap one for one. Cacao gives a slightly darker, more bitter chocolate flavor.
Yes. They’re naturally gluten-free, dairy-free, and vegan as written. If you’re baking for allergies, check that your cocoa is certified gluten-free.
Yes. Use an 8×8-inch pan instead of the loaf pan. The bars will come out slightly thinner, and the chill time stays the same.
More Snack Recipes


Tried this recipe? Leave a star rating and comment below! Subscribe to my newsletter or follow me on Facebook, Instagram, or Pinterest for the latest.
No-Bake Chocolate Walnut Date Bars
Ingredients
- 1 1/2 cups Medjool dates, pitted
- 1 1/2 cups walnuts
- 1/2 teaspoon coarse kosher salt
Chocolate topping:
- 1/2 cup unsweetened cocoa powder
- 1/4 cup coconut oil, melted
- 2 tablespoons maple syrup
- Pinch of flaky salt
Instructions
- Preheat the oven to 350°F.
- Add the dates to a saucepan and cover with water. Bring to a boil over high heat, then reduce the heat to medium and simmer for 5 minutes, or until softened.
- While the dates are simmering, line a baking sheet with parchment paper and spread the walnuts in an even layer. Bake for 5 minutes, or until lightly toasted and fragrant.
- Drain the dates and add them to a food processor along with the toasted walnuts and salt.
- Blend until everything is well combined and forms a thick, sticky mixture.
- Transfer the mixture to a parchment-lined loaf pan and press firmly into an even layer.
- In a separate bowl, add the topping ingredients and stir until smooth and well combined.
- Pour the topping over the mixture, spreading it evenly to cover the top.
- Refrigerate for at least 1 hour, or until the bars are firm and the topping has set.
- Sprinkle with a little flaky sea salt, then cut into bars and serve.
Notes
- Dates: Use soft, pitted Medjool dates. If yours are very soft and fresh, you can skip the simmering and soak them in hot water for 10 minutes instead.
- Drain well: Shake off as much water as possible after simmering. Extra water makes the base gummy and keeps it from setting.
- Walnuts: Toasting is optional but adds a lot of flavor. Raw walnuts work if you want to skip the oven completely.
- Blending: Keep blending until the mixture clumps into a sticky ball. If it still looks crumbly, it won’t hold together.
- Pressing: Line the loaf pan with parchment so you can lift the bars out. Press the base down firmly, especially into the corners.
- Cocoa: Unsweetened cocoa powder and cacao powder swap one for one.
- Slicing: Let the bars sit at room temperature for 5 minutes before cutting so the chocolate doesn’t crack. Use a sharp knife dipped in hot water and wiped dry.
- Larger batch: Double the recipe and use an 8×8-inch pan.
- Storage: Keep the bars in an airtight container in the fridge for up to 4 days. The chocolate softens at room temperature, so keep them chilled until serving.
- Freezing: Slice first, layer between parchment, and freeze for up to 2 months. Thaw in the fridge or on the counter for about 10 minutes.
Nutrition
Nutrition information is automatically calculated, so should only be used as an approximation.









Easy to make and a great snack!